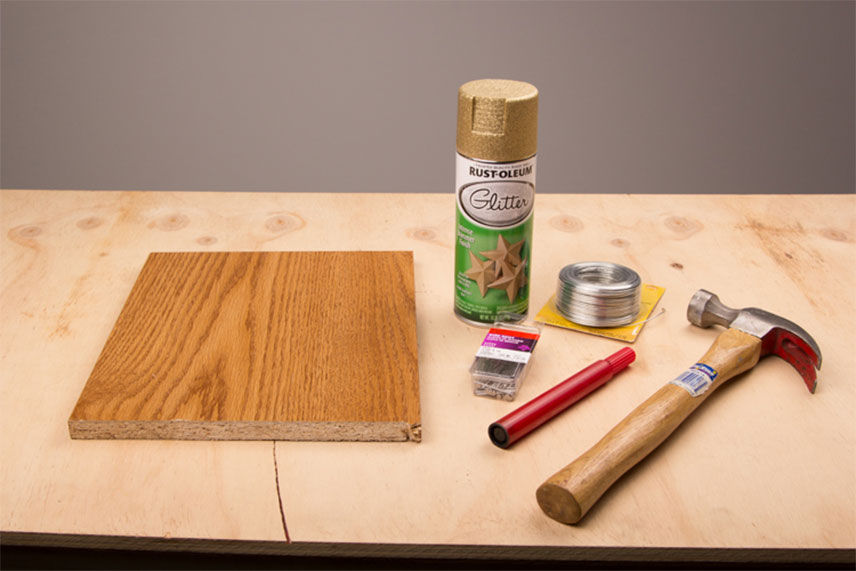
For this project, you'll need:
- Scrap wood (roughly the size that you want your finished star to be)
- Nails
- Hammer
- Wire (a thinner gauge is easier to work with, but a thicker gauge will fill in your star faster)
- Wire cutters
- Rust-Oleum Glitter Spray


Step 1: Draw your star to use as a pattern
Step 2: Hammer in nails at each point of your star
Step 3: Start wrapping your wire
Step 4: Repeat your wrap
Step 5: Pull out your star point nails, and wrap wire around the corners to reinforce the star shape
Step 6: Wrap more! Loosely wrap lengths of wire around the center of the star to start giving it dimension
Step 7: Keep wrapping! Loosely wrap more wire around each 'leg' of your star
Step 8: Use Rust-Oleum Glitter Spray to give your star some shine. For best results, be sure to use proper spray painting techniques.
Step 9: Show off your beautiful new tree topper!
Do you have a DIY tree topper at home? We would love to see your photos! Share them with us on Facebook, Twitter, or Instagram @ValuHomeCenters, and we’ll share them with our fans!
Need some help, or a few more supplies? Visit your local Valu Home Center and speak to our knowledgeable Associates today.