Skip to Main Content
Back to Navigation

DIY Upcycled Window Planning Station

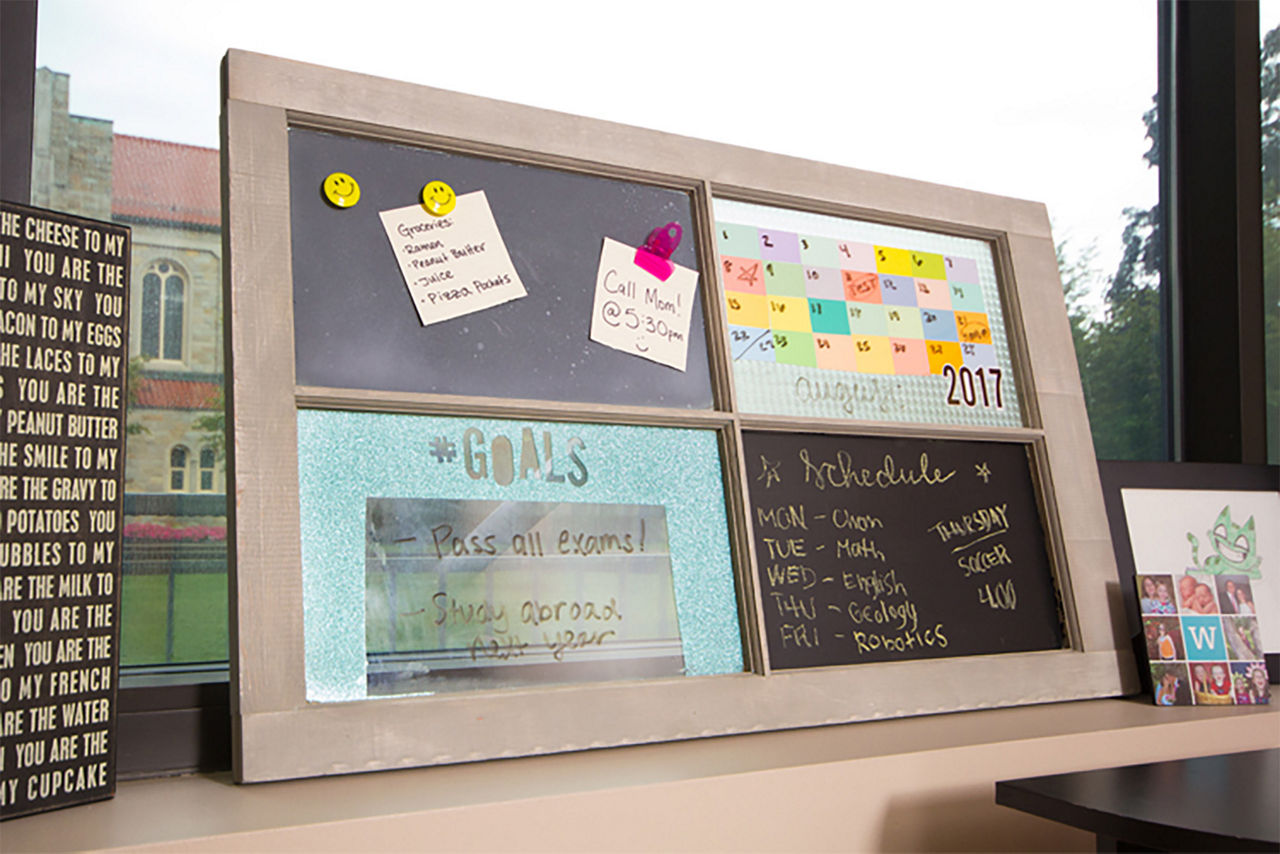
Image of final product following the window planning instructions

For the student heading back to college, planning is paramount. A well-organized planning station will help keep classes, homework, social events, and sports practices organized.

We love this DIY planning station made from an old window, because it is not only functional, but fashionable! Accent pieces add style to your dorm room, and help make it feel more like home. Plus, college students are on a tight budget, and old windows can usually be found curbside on garbage pick-up day. Save money on materials, and save a window from the landfill with this creative and customizable project! 

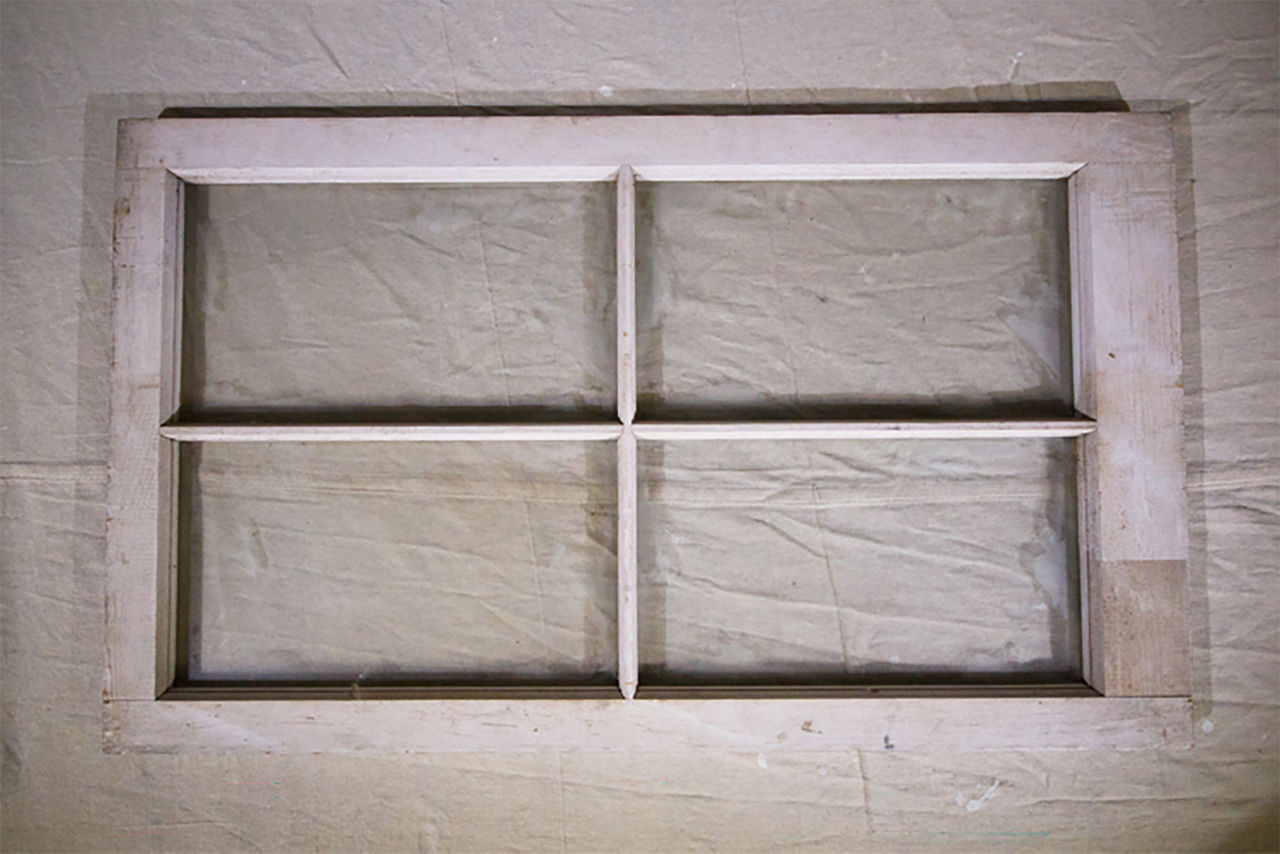
Window planning station 1 of an old window frame

To make your own version of our DIY planning station, you will need:

General Supplies:

  • An old window *safety note: many old windows are heavy, so you will need to display it on top of your desk or dresser - don't try to hang it!*
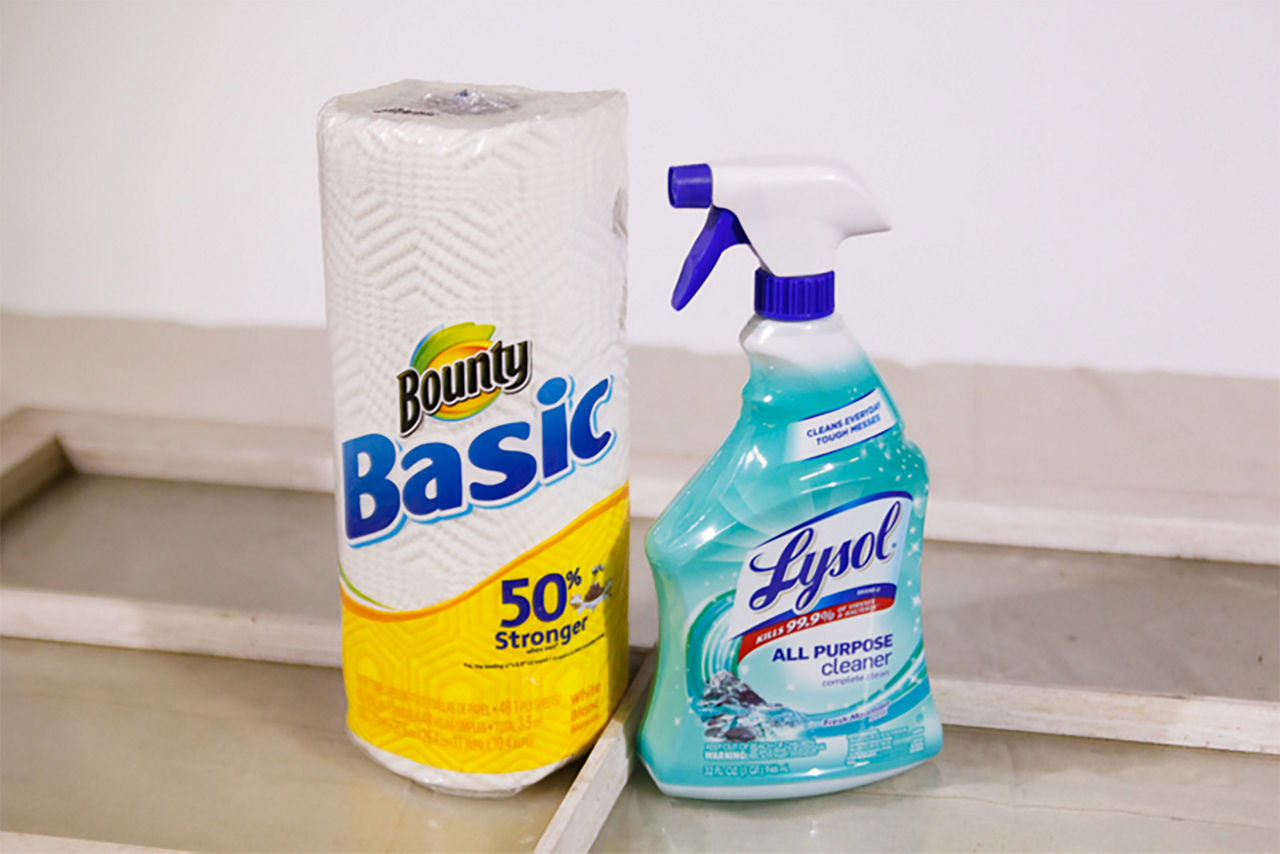
  • Bounty paper towels
  • Lysol all-purpose cleaner
  • Scotch Blue painter's tape
  • Paint brush
  • Paint samples
  • Scissors
  • Measuring tape
  • Markers (permanent and dry erase - be careful not to mix them up!)
  • Vinyl numbers and letters
  • Paint can opener tool (or a flat head screwdriver)
  • Paint sticks
  • 3M Sanding Sponge (1 coarse grit and 1 fine)
  • Con-Tact Frosty Adhesive Shelf Liner 

Paint:

  • Rust-Oleum Ultra Matte Interior Chalked Paint
  • Rust-Oleum Chalkboard Paint quart
  • Krylon Magnetic Spray Primer
  • Krylon Glitter Blast Spray Paint
  • Krylon Glitter Blast Spray Sealer

Helpful Add-Ons:

  • Disposable gloves
  • Canvas drop cloth for painting area
  • Rust-Oleum spray can handle
  • X-Acto knife or razor
Bounty paper towel roll and lysol all purpose cleaner
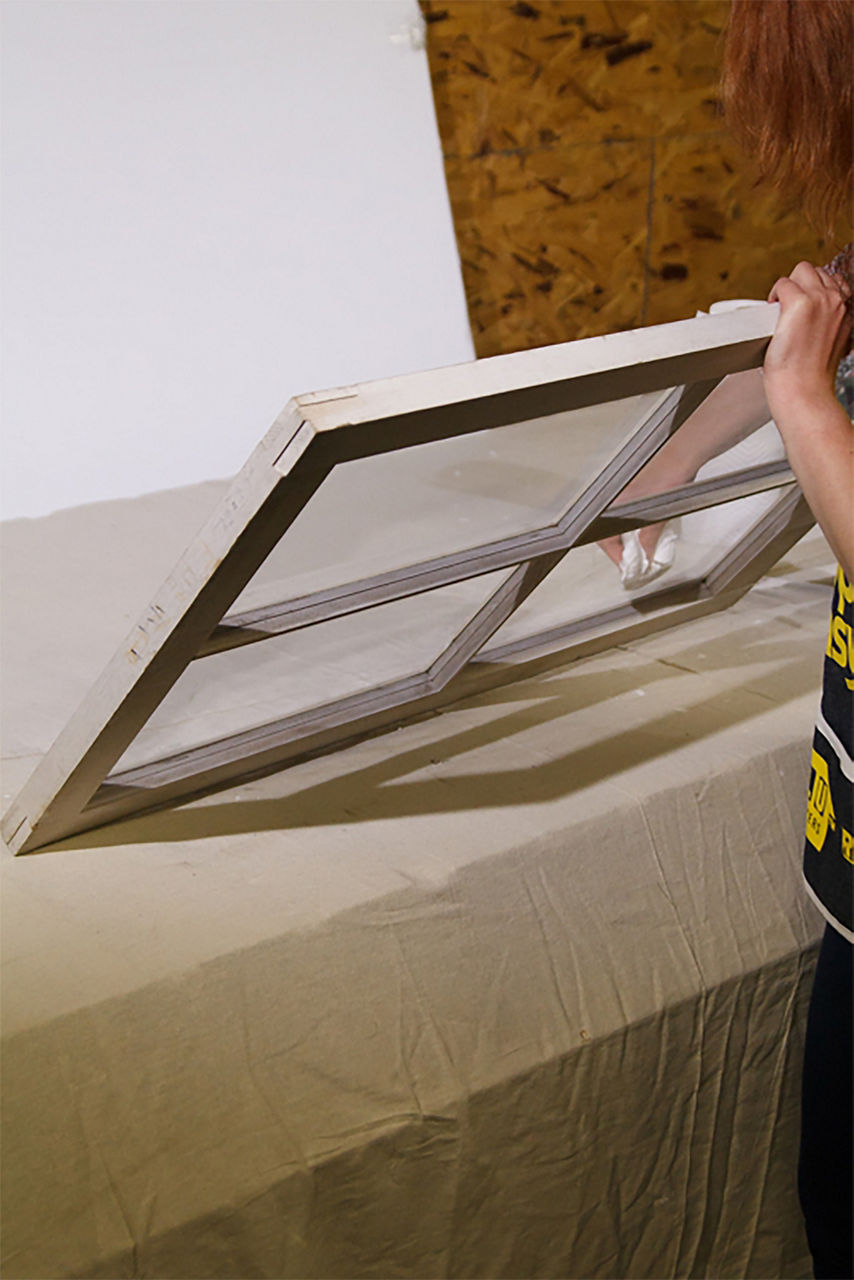
Someone cleaning the window pane to get it prepped for the rest of the instructions

Step 1: Clean the window

Cleaning your surface is an extremely important part of painting prep. If there is dirt left on your frame, any paint you put on top of the dirt could eventually come off, leaving an uneven finish. Be sure to clean both the glass and the wood, as well as any dirt buildup in the corners of each individual window. This step always feels time consuming, but it is worth it!

Close up of the window pane as you are getting it ready for painting prep
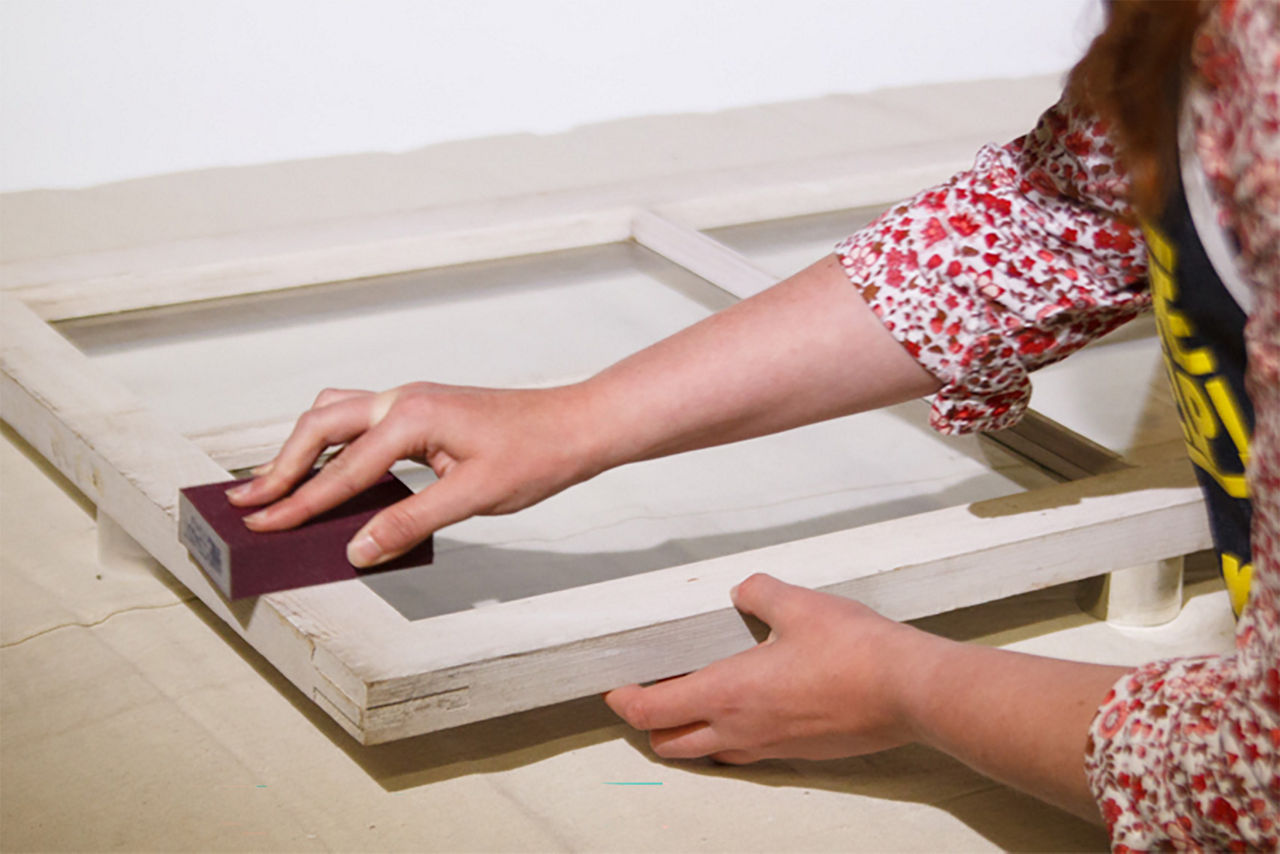
Person sanding the frame for the window planner

Step 2: Sand the window, then clean it one more time

Use a coarse grain 3M sanding sponge to remove paint chips and debris that might affect your painting process. Be sure to clean the sanding dust off of the frame when you're finished.

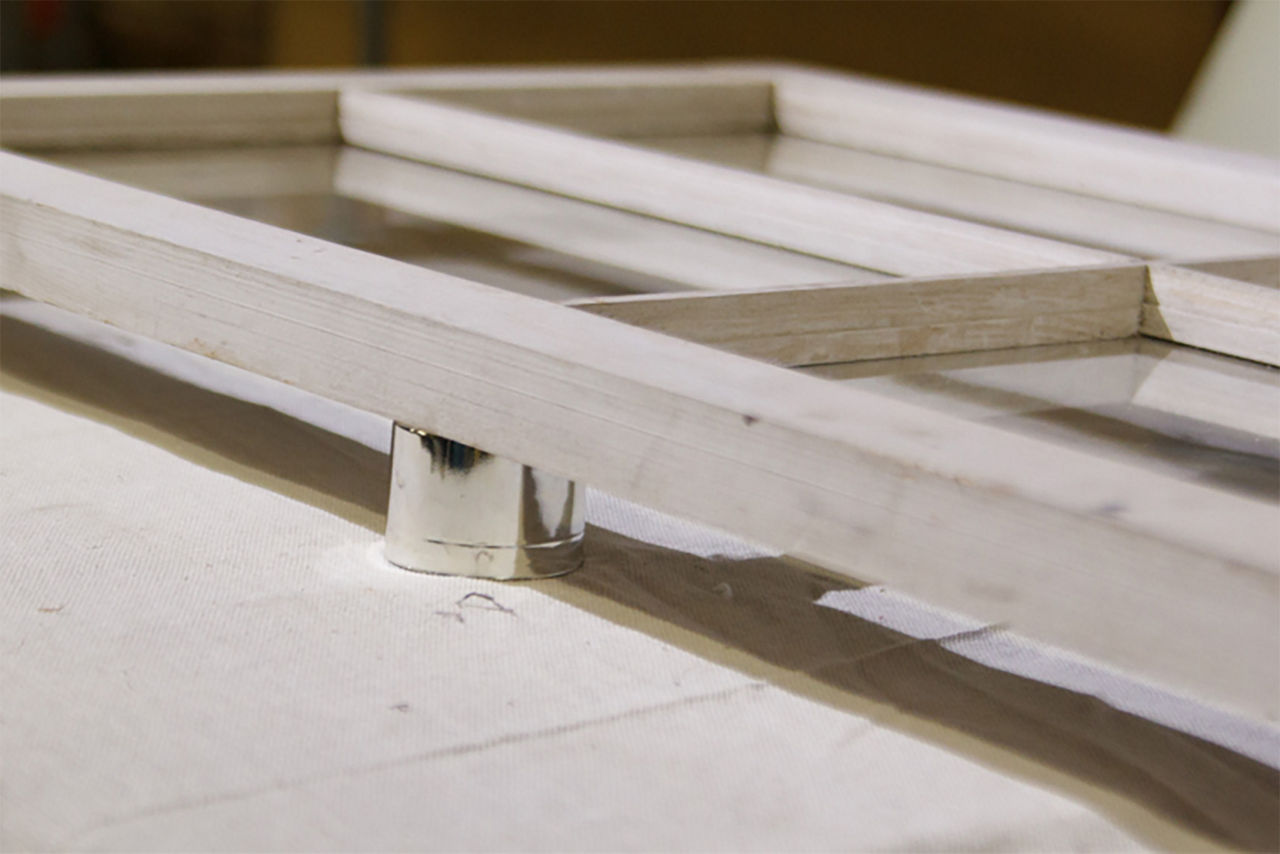
Pro tip: Prop your window up on the lids of spray cans you're not using yet to lift the window up and away from your drop cloth for easy sanding and painting.

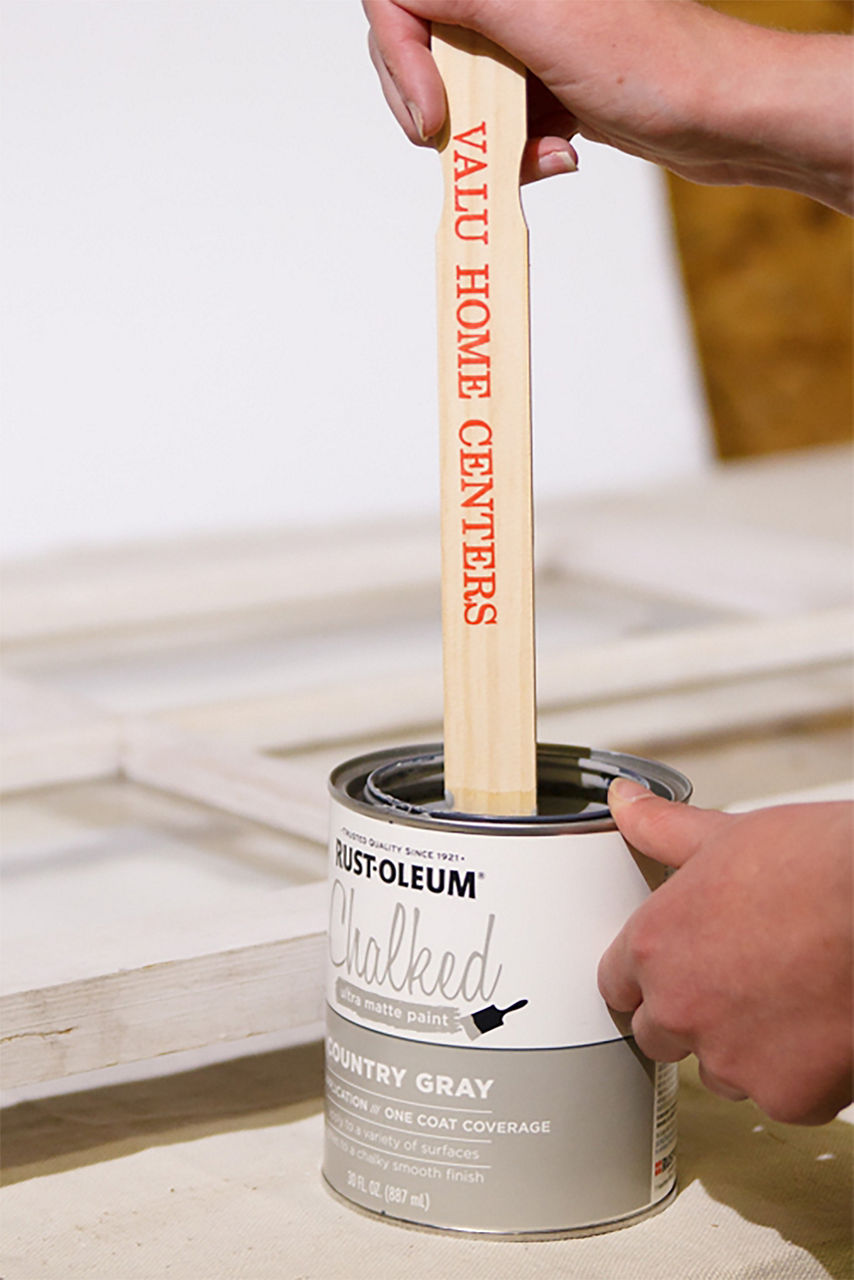
A Valu Home Center paint stirrer stick inside a can of rust-oleum gray paint
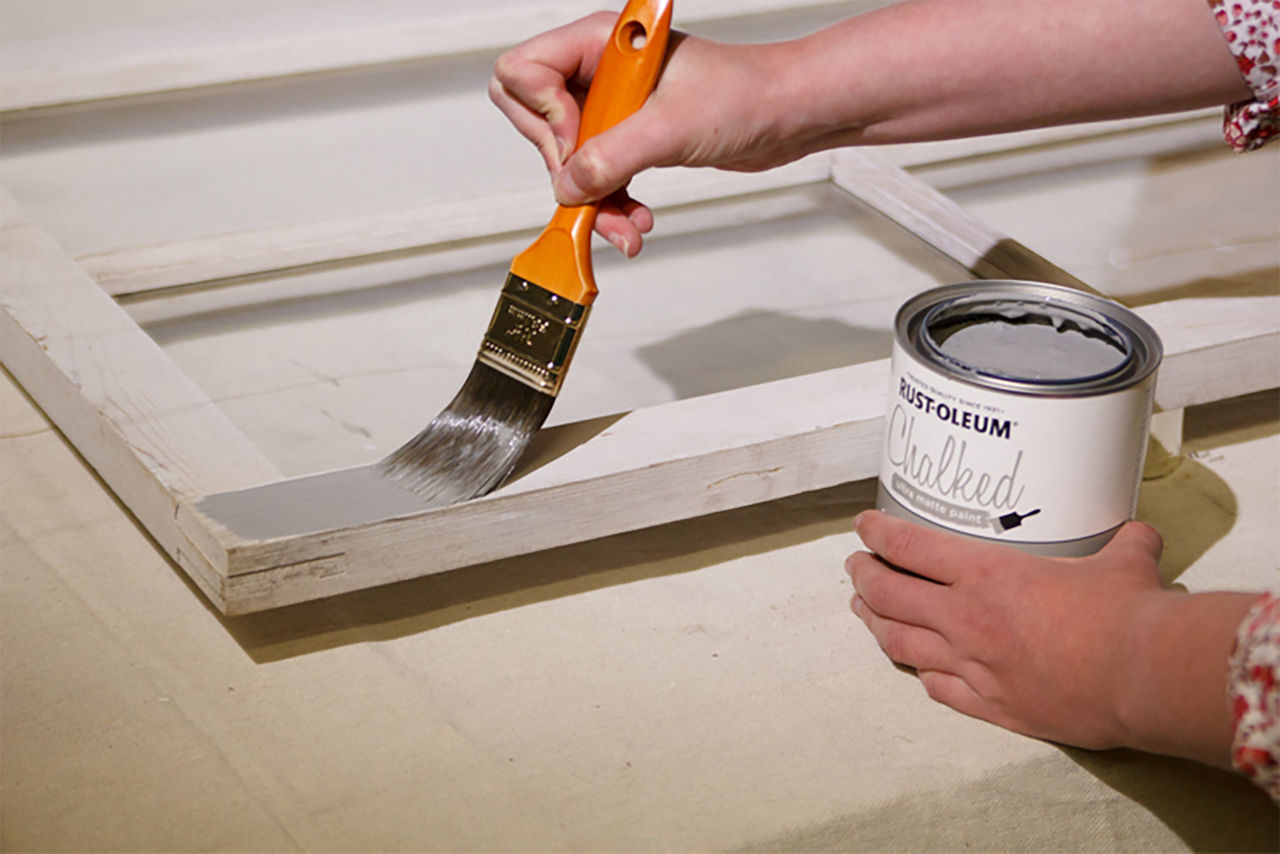
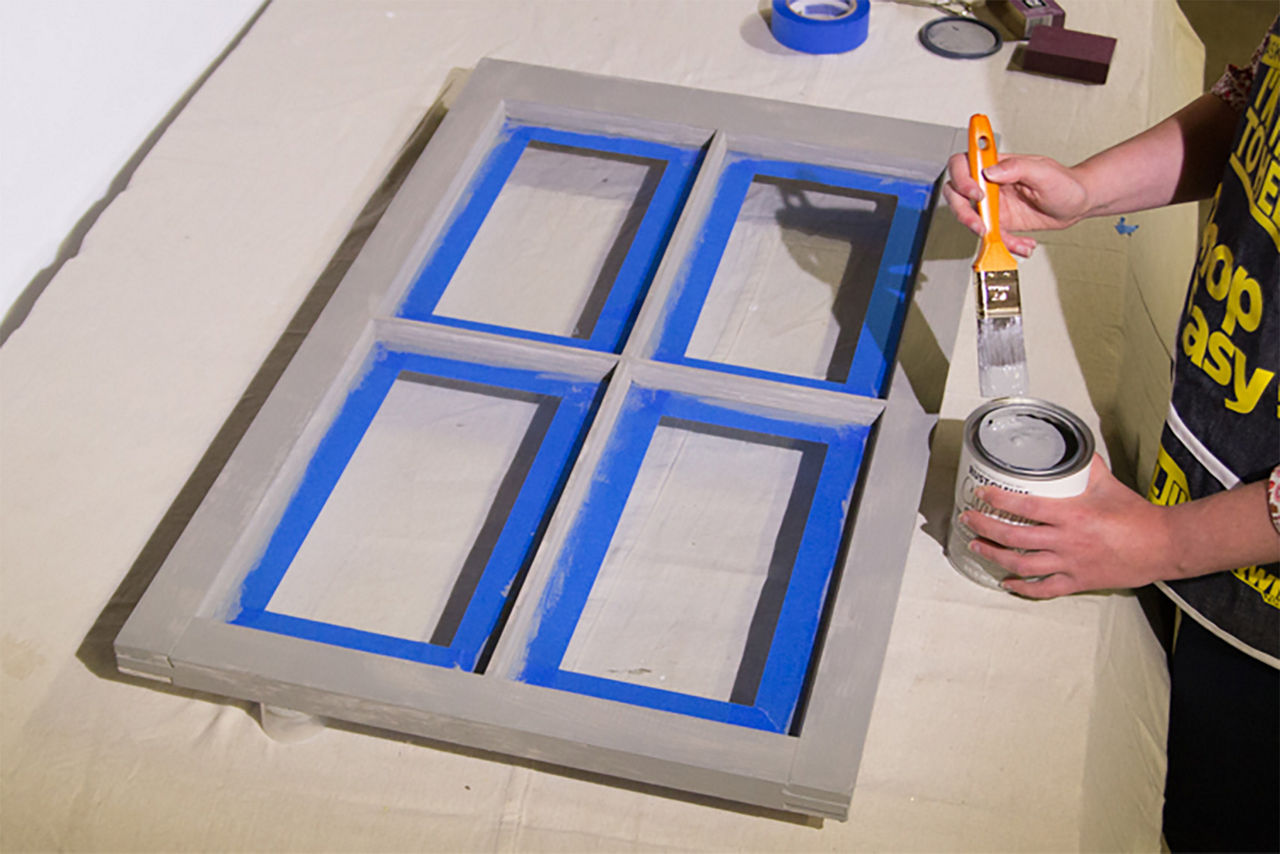
Person with a paint brush painting the window pane with the rust-oleum gray paint

Step 3: Stir your paint, then get started!

Apply thin, even strokes of Rust-Oleum Chalked to your frame. This paint is available in a selection of pre-mixed colors as well as a tint base for even more options. It goes on translucent and has an ultra-matte finish.

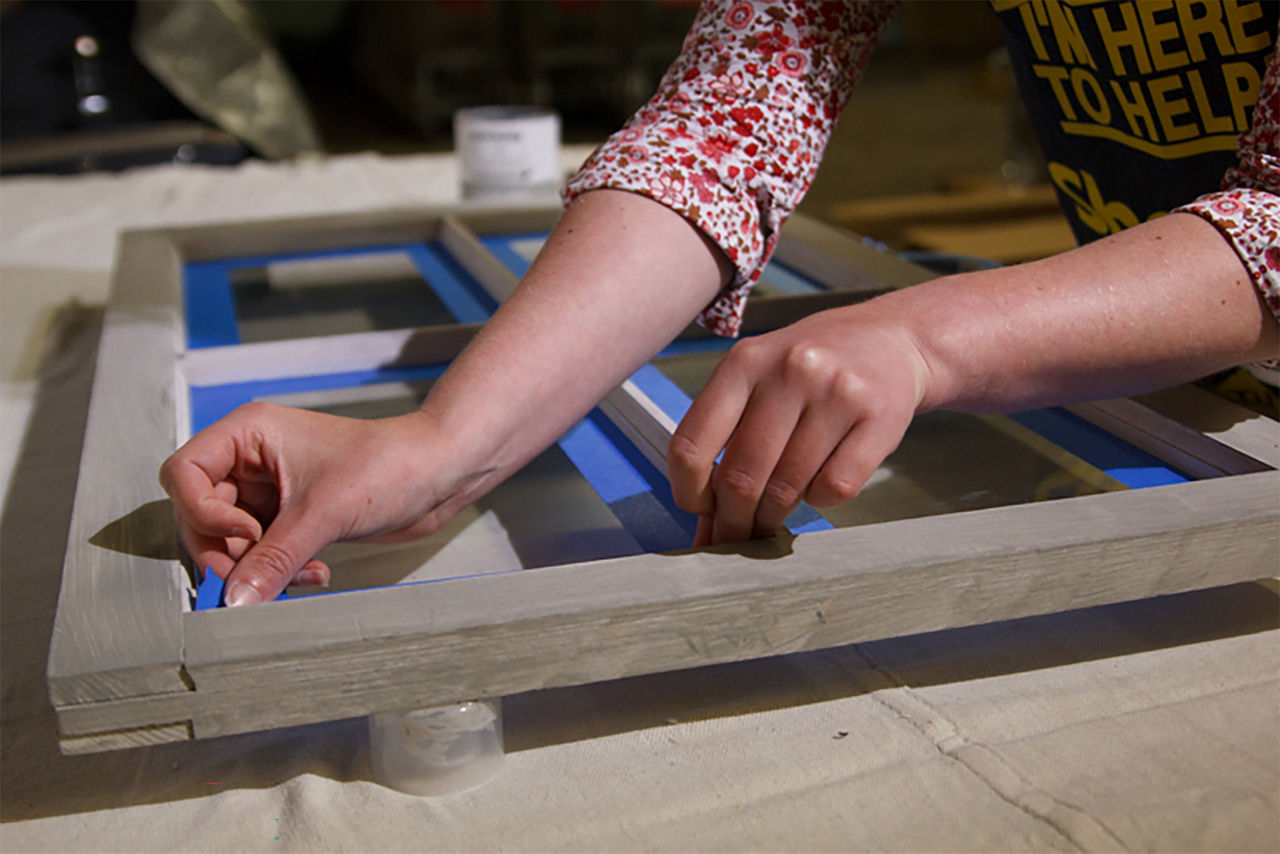
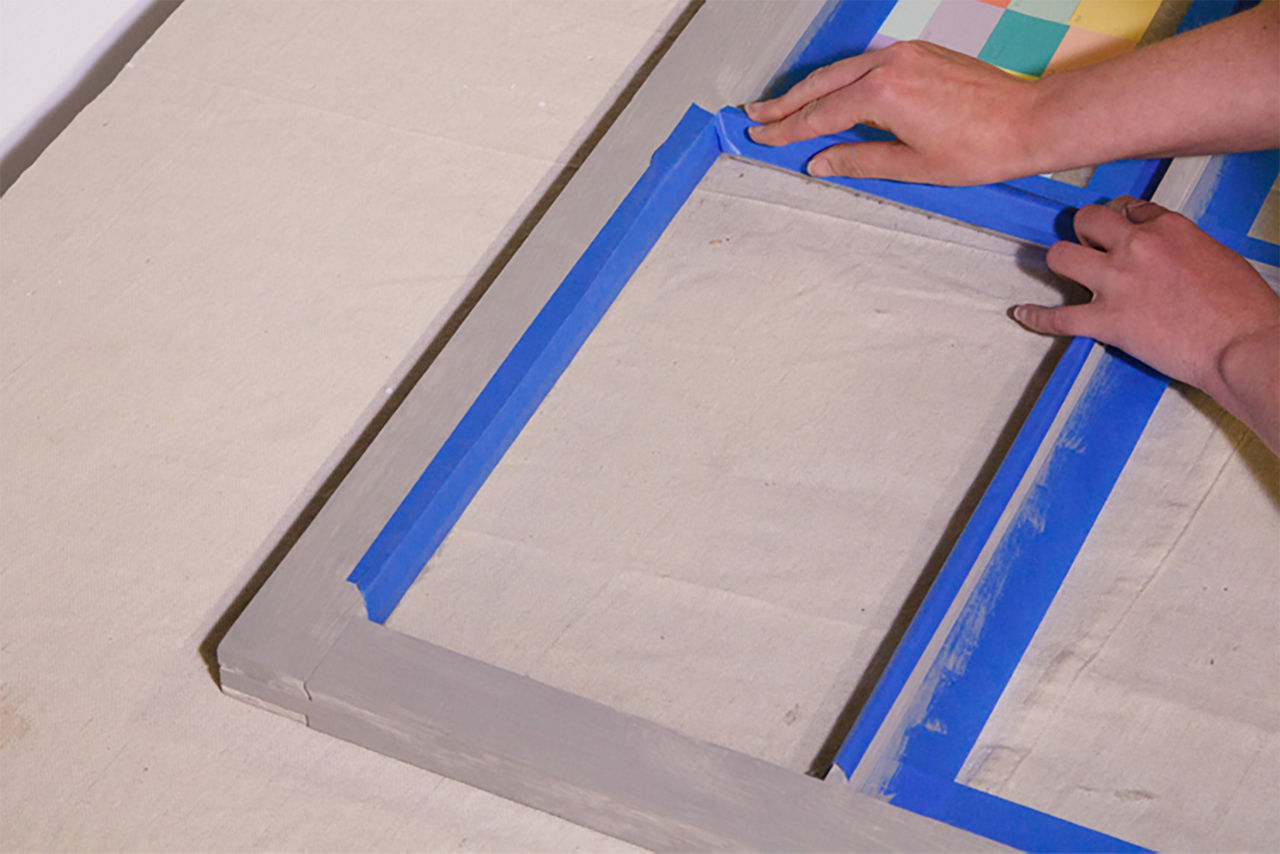
Person lining the edges of the window pane with painters tape
Full view of painters tape on the edges of the window pane if you don't have a steady hand

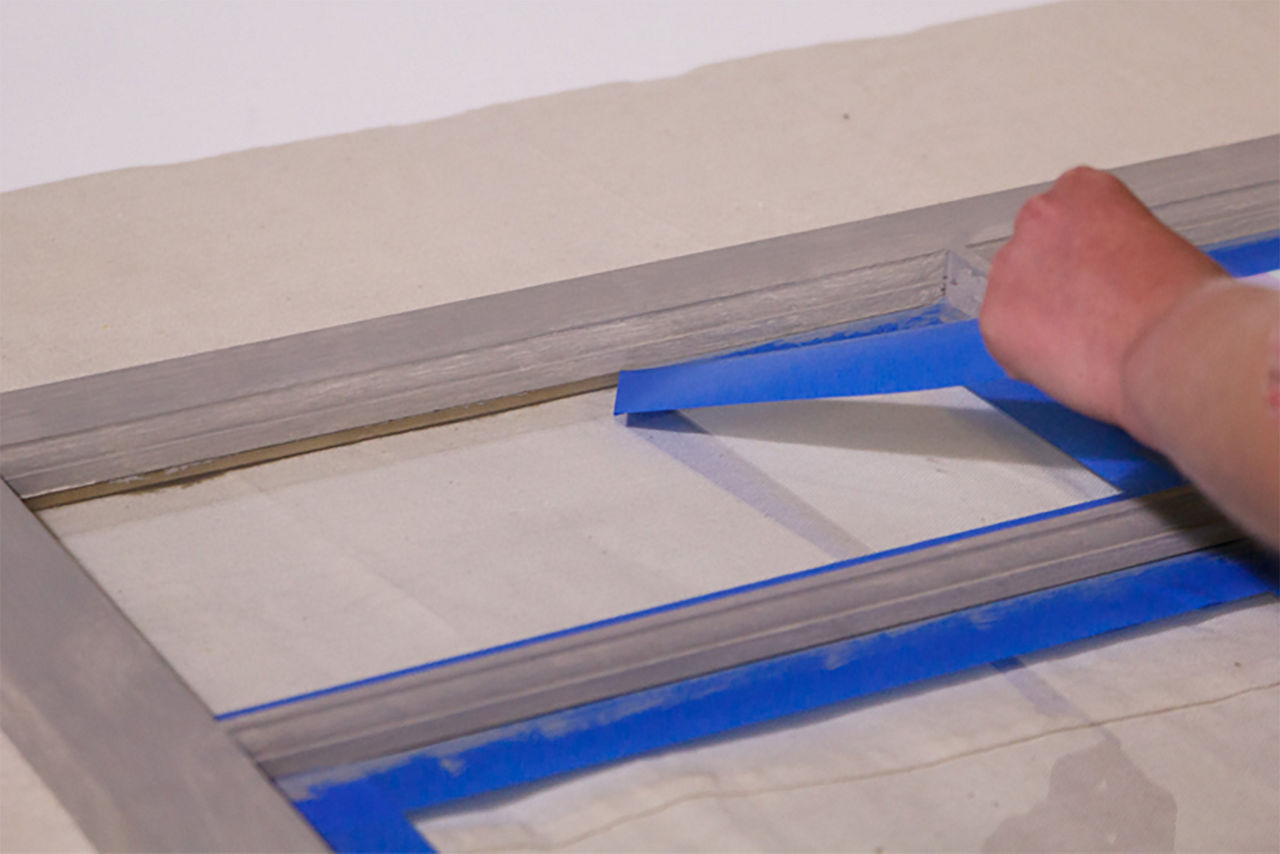
Pro tip: If you don't have a steady hand, you can tape the inside edge of the windows to avoid getting paint on the glass.

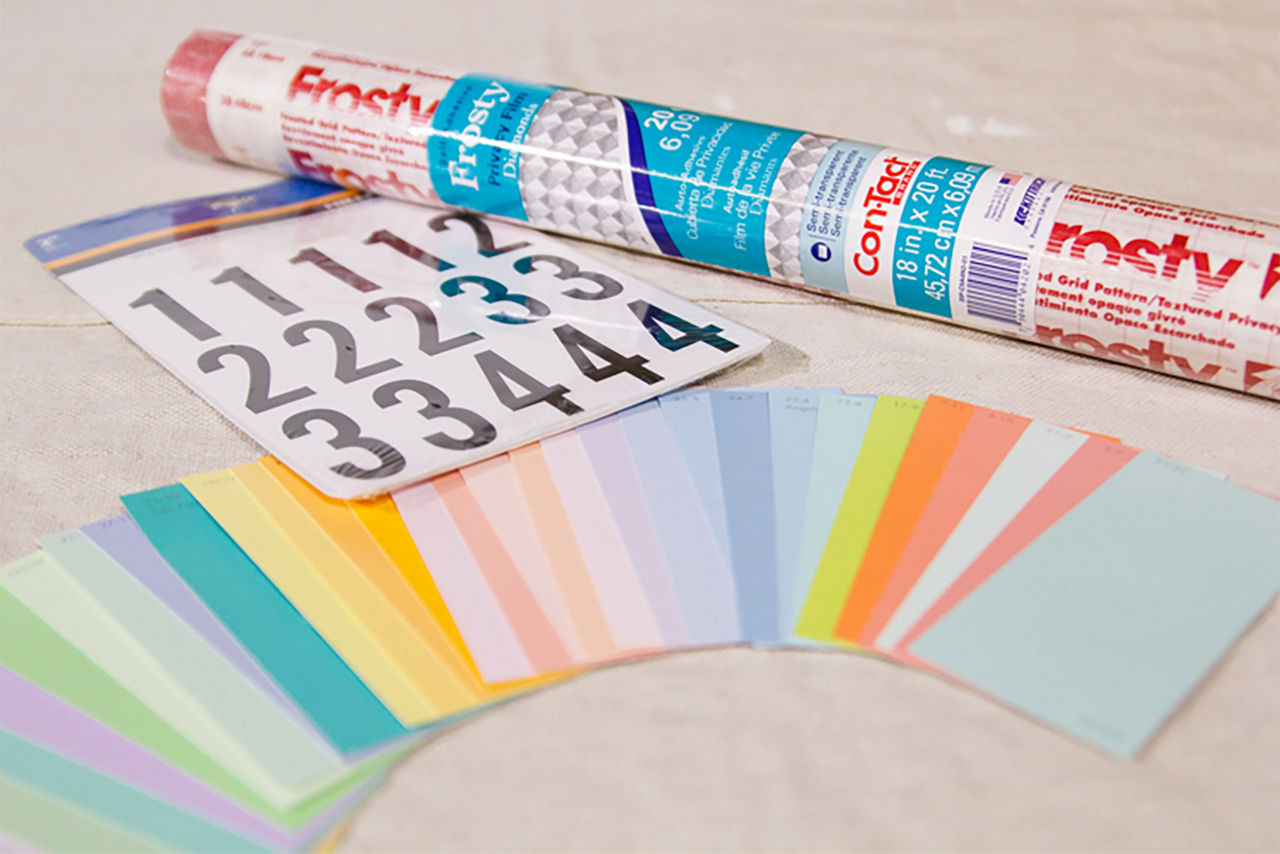
Materials that include sitckers, paint swatches ands textured privacy foam

Step 4: Gather and prepare supplies for the calendar section

We chose to do the calendar part of our organizer first because it does not require any drying time, and therefore won't need to be covered or protected while working on the rest of the project. Grab your Con-Tact paper, vinyl numbers, and paint samples. You will also need a pair of scissors, a measuring tape, and a marker.

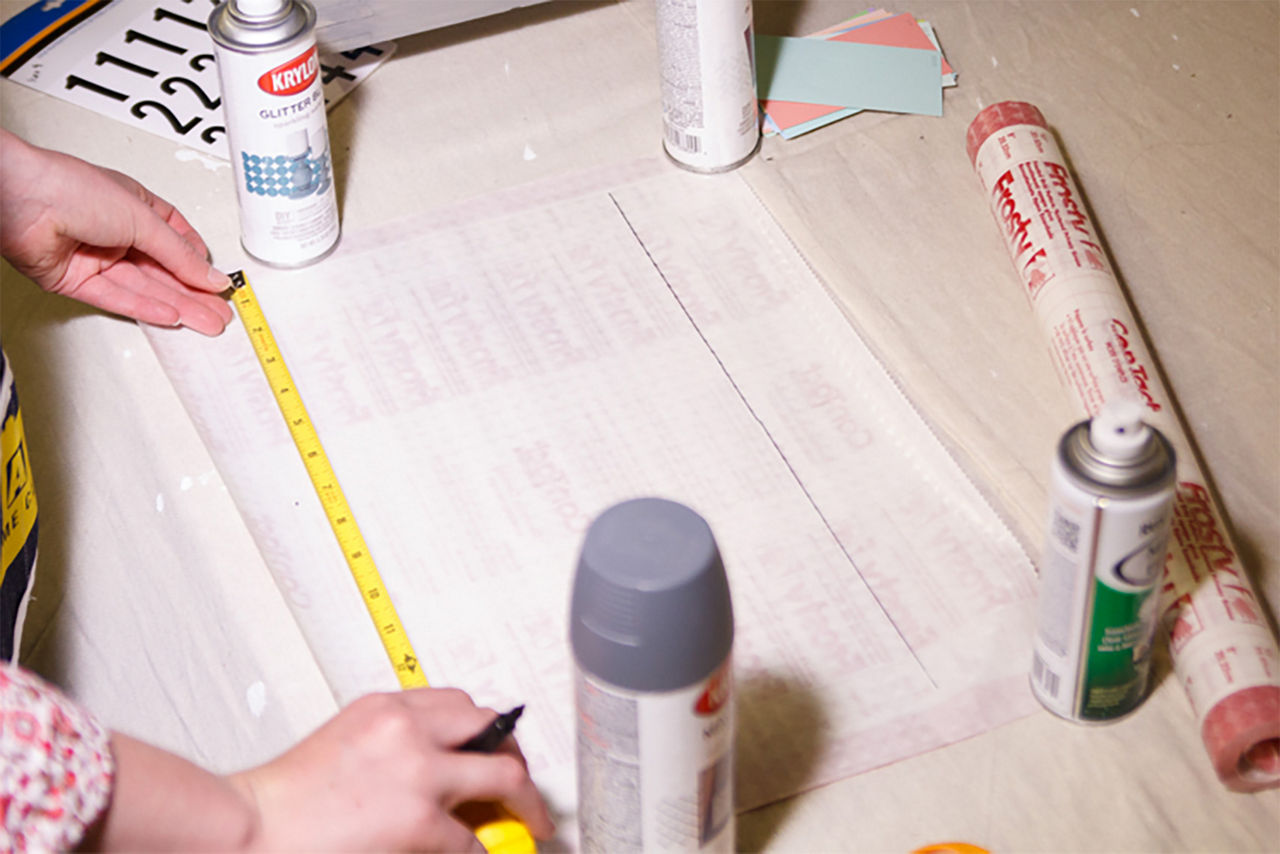
Person measuring inside one quadrant of the window pane
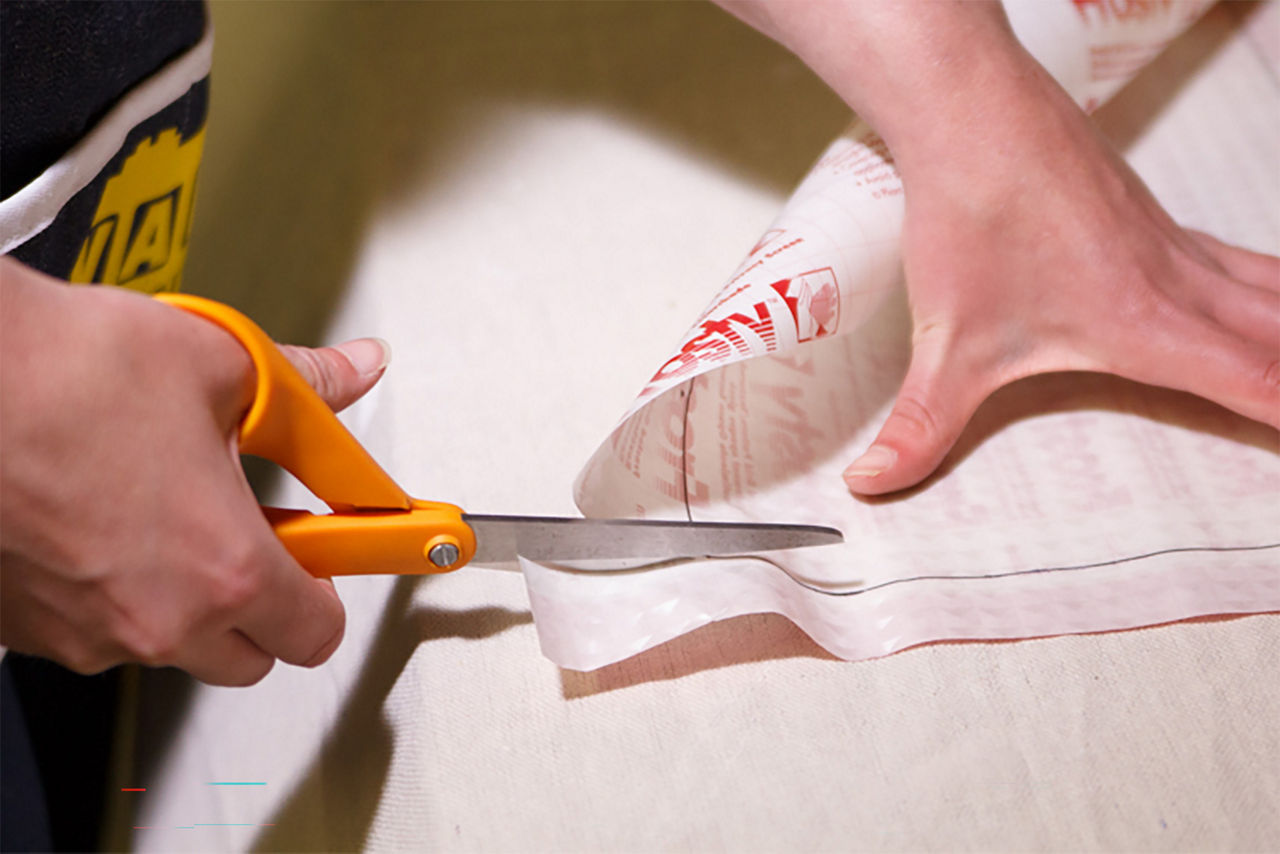
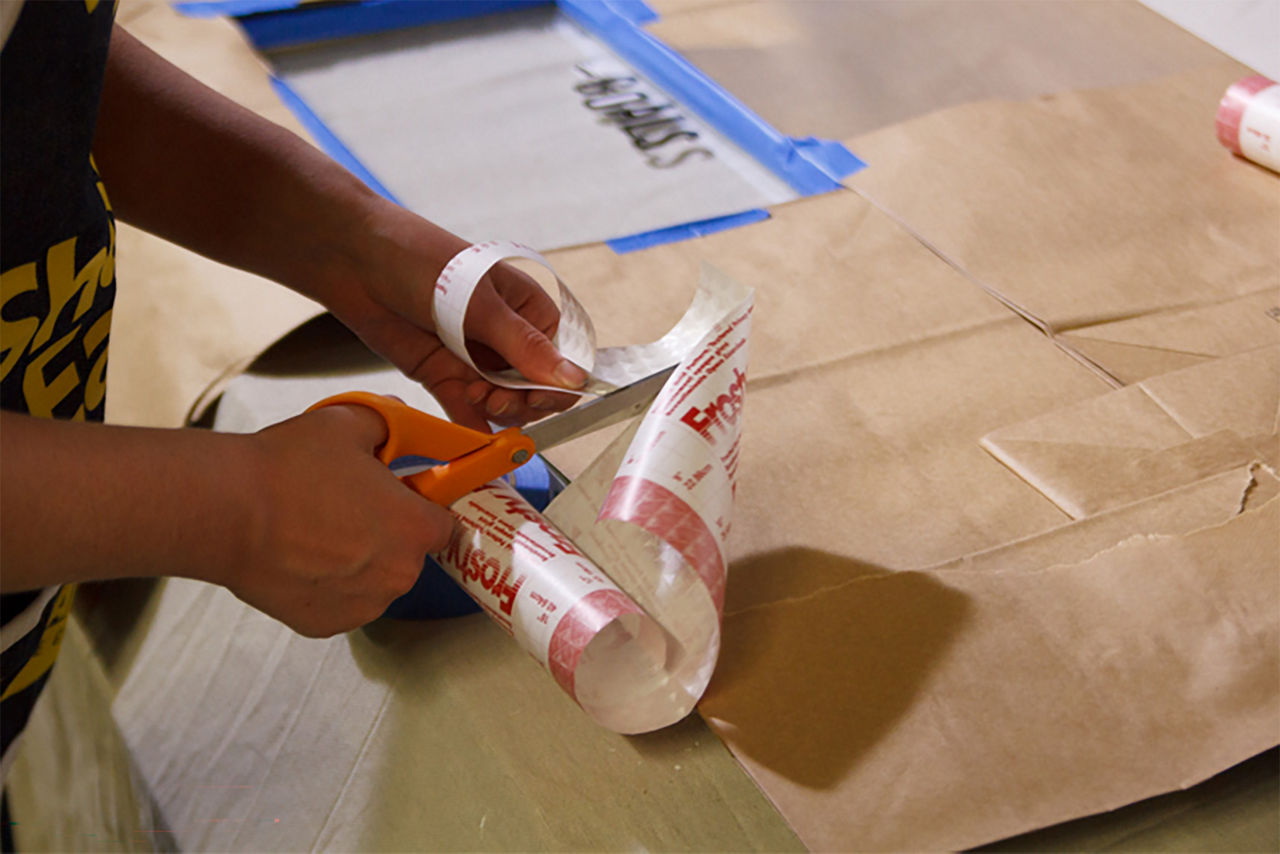
Person cutting the con-tact paper to fit the glass window pane quadrants

Step 5: Measure and cut your Con-Tact paper and cut it to fit the glass pane

Use a measuring tape or a ruler to measure the size of the glass pane you want to cover. Transfer your measurement to the Con-Tact paper, then cut it to fit.

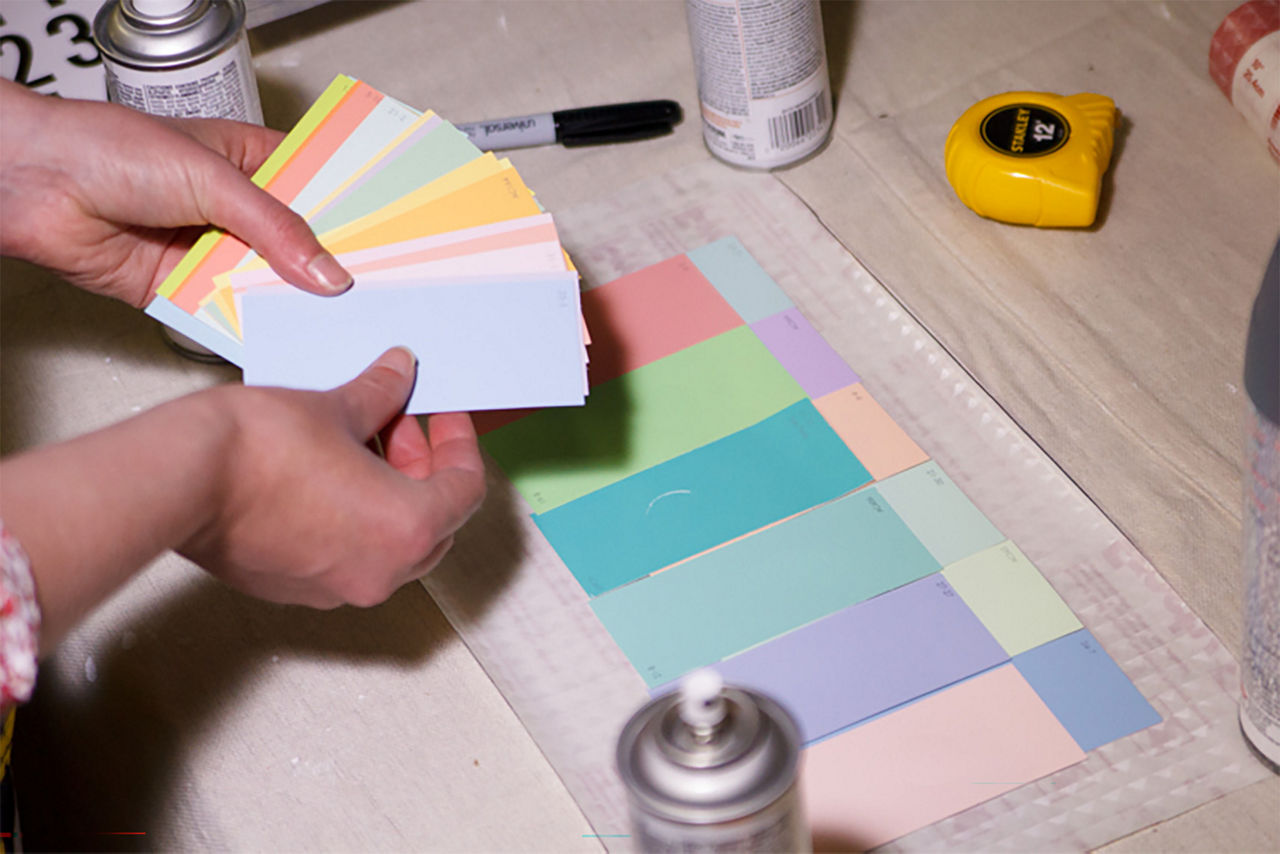
Person holding the color swatches to line them up inside the window pane quadrant
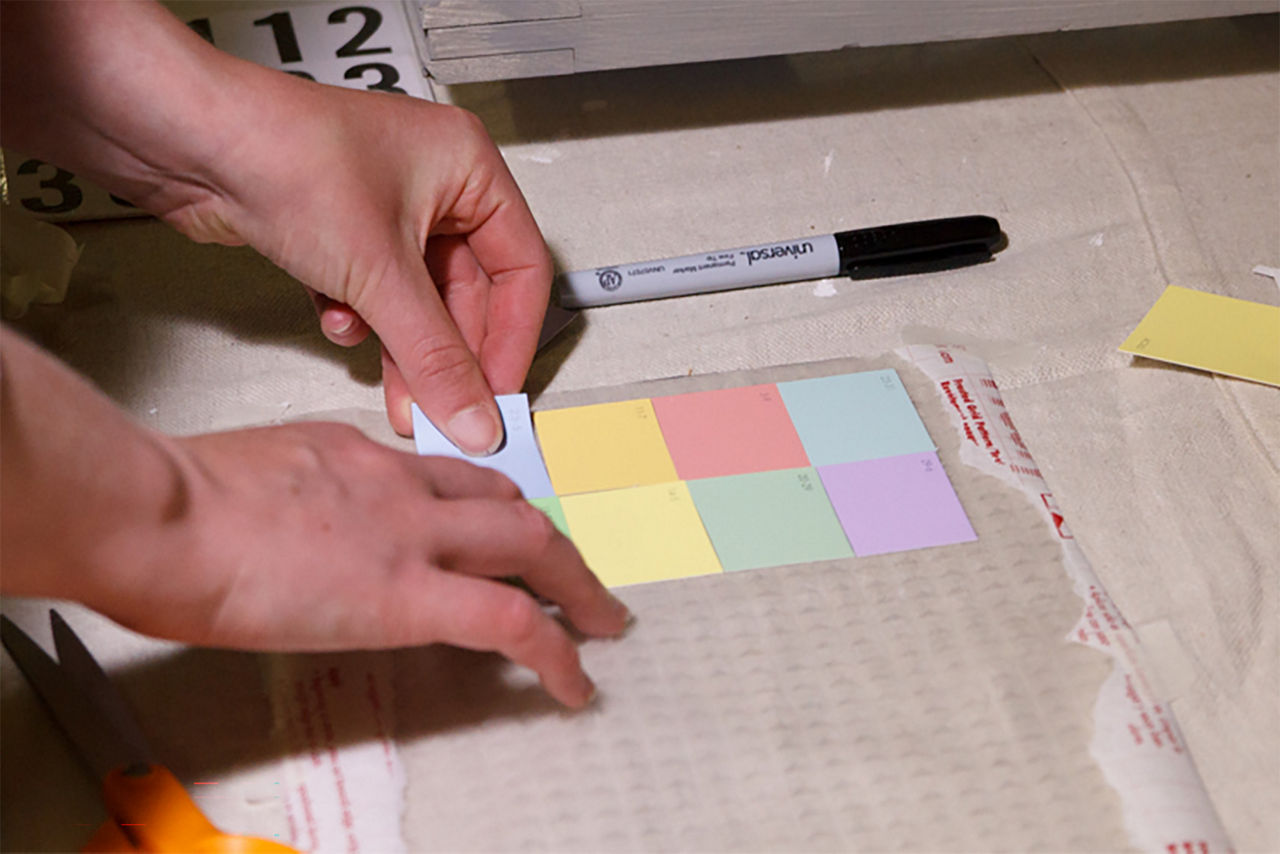
Personing placing the cut up paint swatch sqaures in the window pane quadrant

Step 6: Measure, cut, and place the calendar squares from your paint samples

First, lay the paint chips on the Con-Tact paper (while the protective paper is still in place) to decide the order and size of your calendar squares. Cut the paint samples to fit your squares, and then peel off the protective paper, laying the Con-Tact paper sticky side up on the table. Place your squares color side up on the sticky side of the Con-Tact paper.

Pro tip: Leave some bits of the protective paper, and tape those areas down to the table to keep the Con-Tact paper from rolling up while you work.

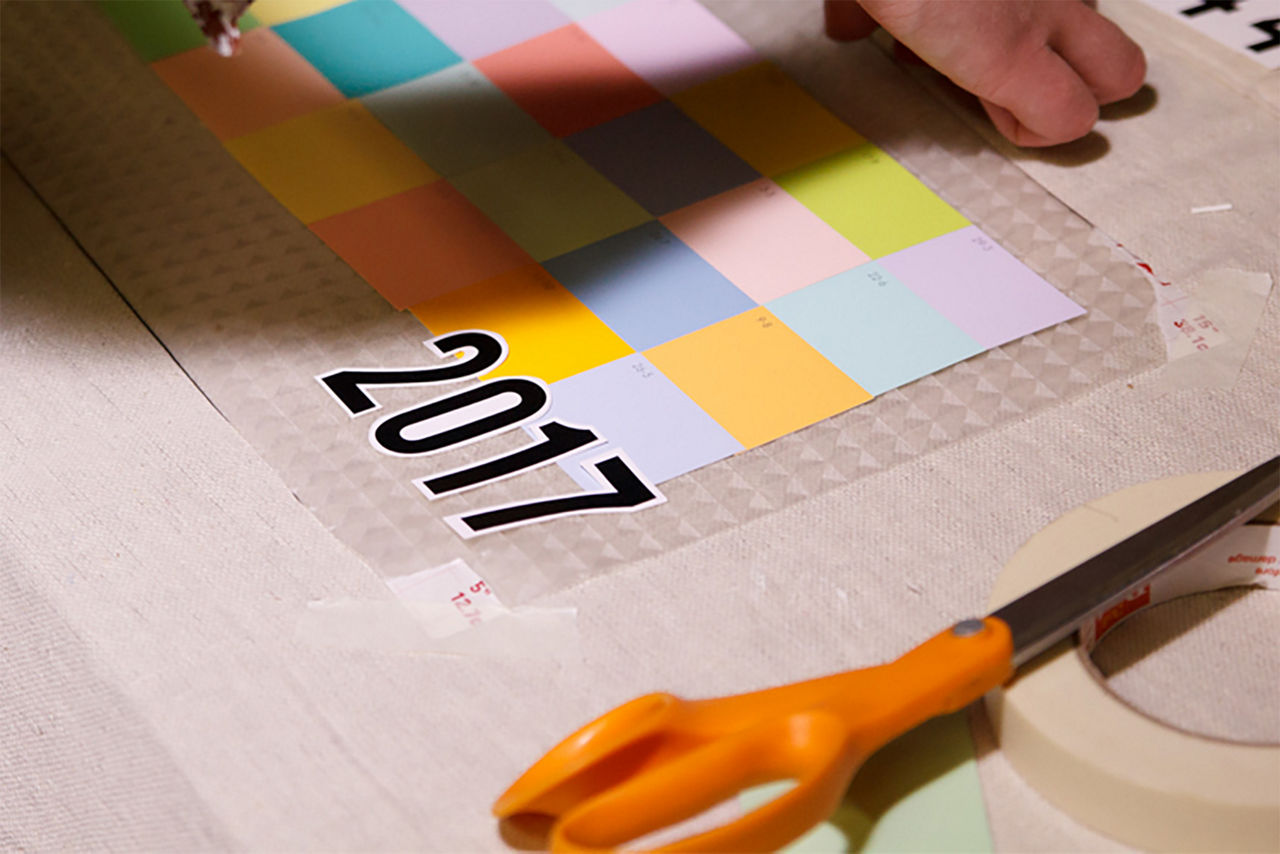
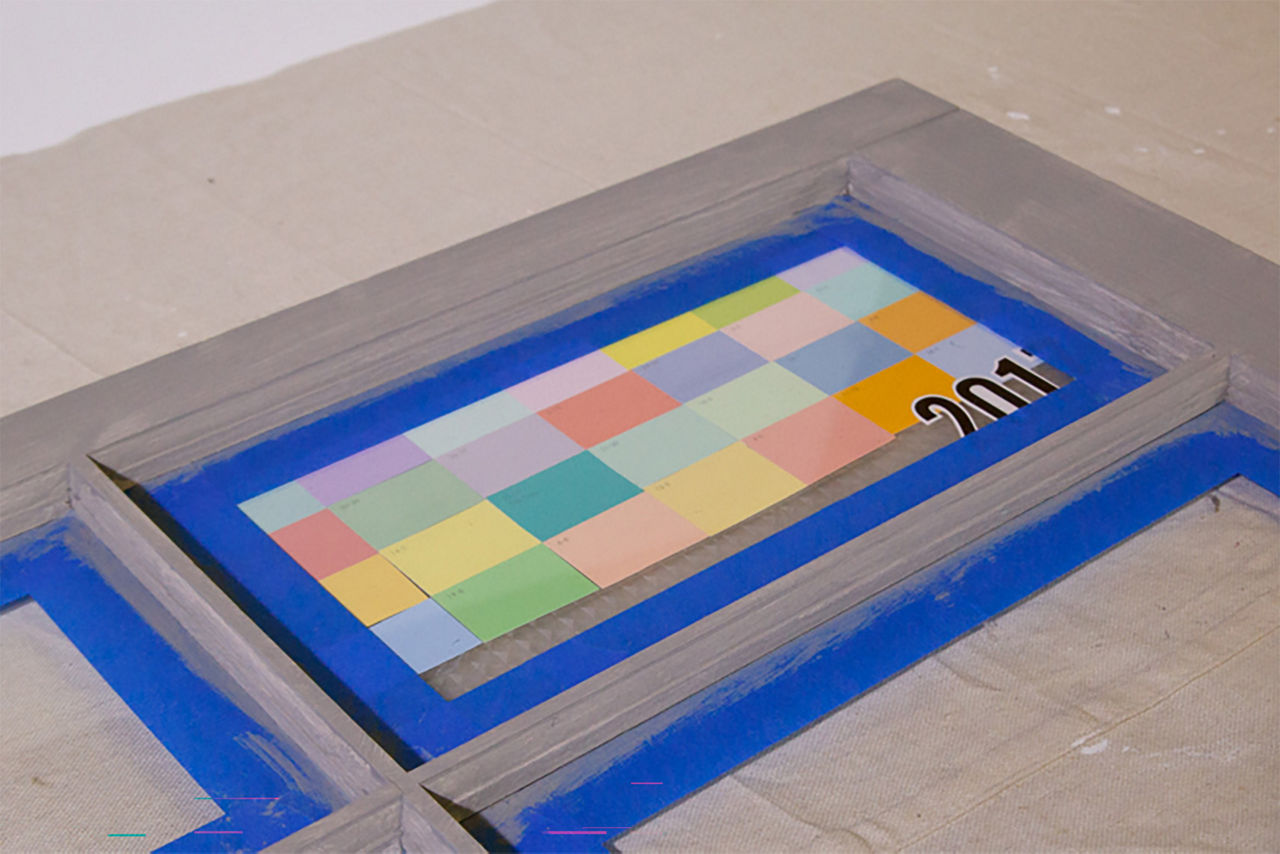
Close up of the finished quadrant with the 2017 sticker over the paint swatch sqaures

Step 7: Cut out your vinyl numbers and stick them in place

We decided to stick the numbers right to our calendar template, but remember that if you want to change the year in the future, you'll need to put the numbers on the opposite side of the glass.

Wide view of the paint swatch sqaure 2017 sticker quadrant

Step 8: Stick the calendar to the back of your window

If you taped the inner edges of your window, you won't be able to fully admire your work just yet.

Someone taking off the painters tape after completing part of what they are working on

Step 9: Peel the tape off from the section that will become your magnet board

Make sure the paint on your frame is COMPLETELY dry before peeling the painter's tape. Always peel tape at an angle.

Put more painters tape on other quadrants to get ready to use krylon
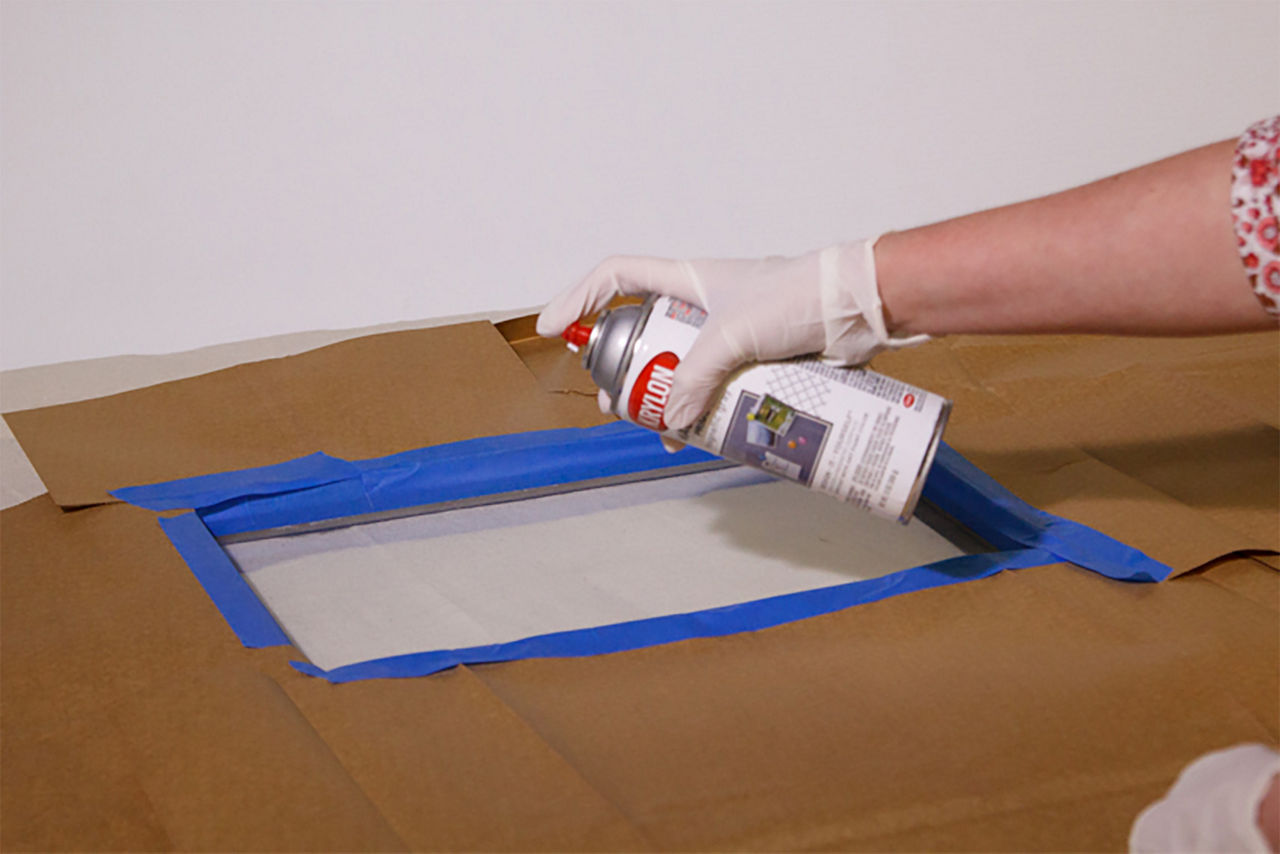
Putting cardboard around the edges of the window pane quadrant to prep the krylon
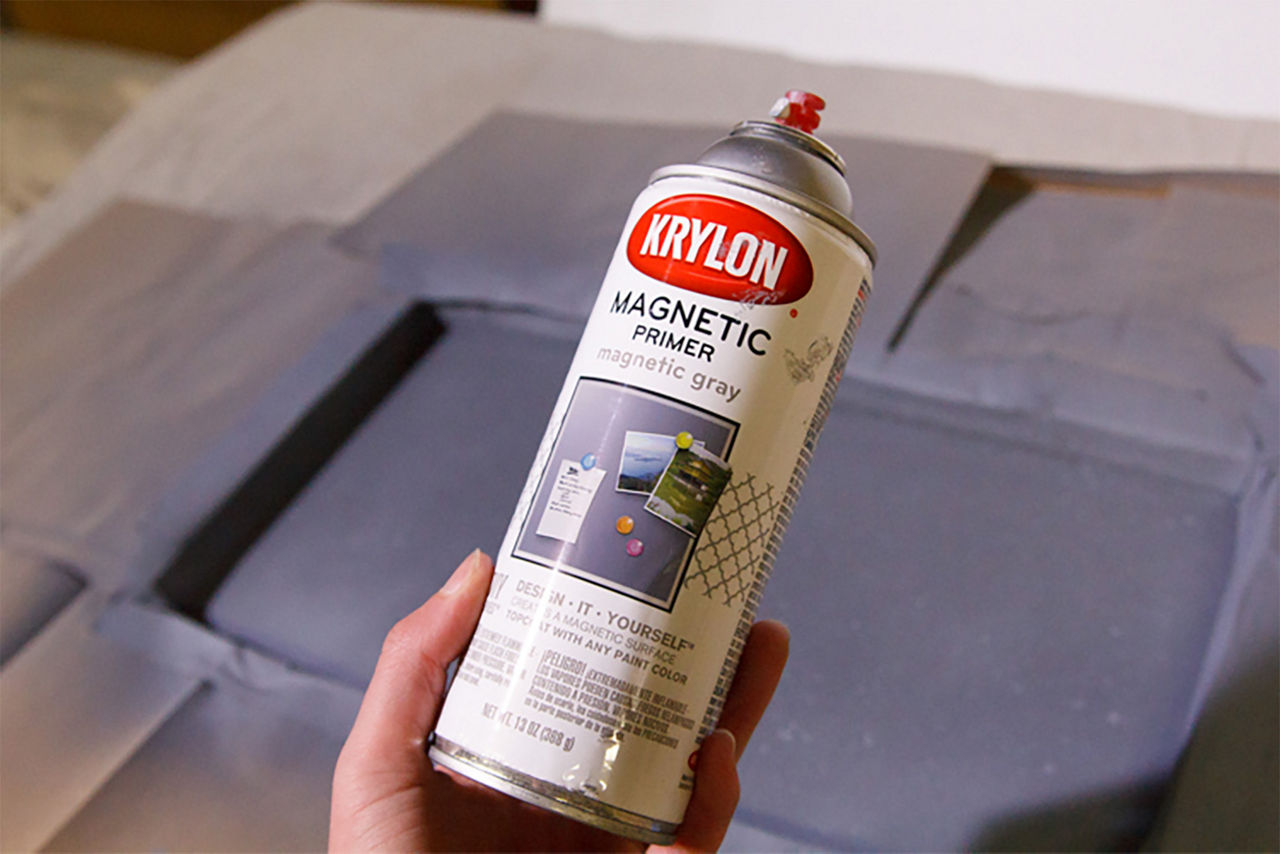
Close up of the Krylon magnetic primer

Step 10: Prep and paint the magnet board window pane

Before spraying your magnet board pane with Krylon Magnetic Spray Primer, tape the inside edge of the frame (again, only if the paint on your fame is COMPLETELY dry) and then tape some paper bags around the edges of the pane to protect the rest of the window from overspray. Be sure to follow all of the instructions on the can, including proper ventilation and application techniques. You may want to wear disposable gloves to keep your hands clean while you work.

Pro tip: Be careful not to hold the can too close to the window, or the paint will pool and the finish will be uneven.

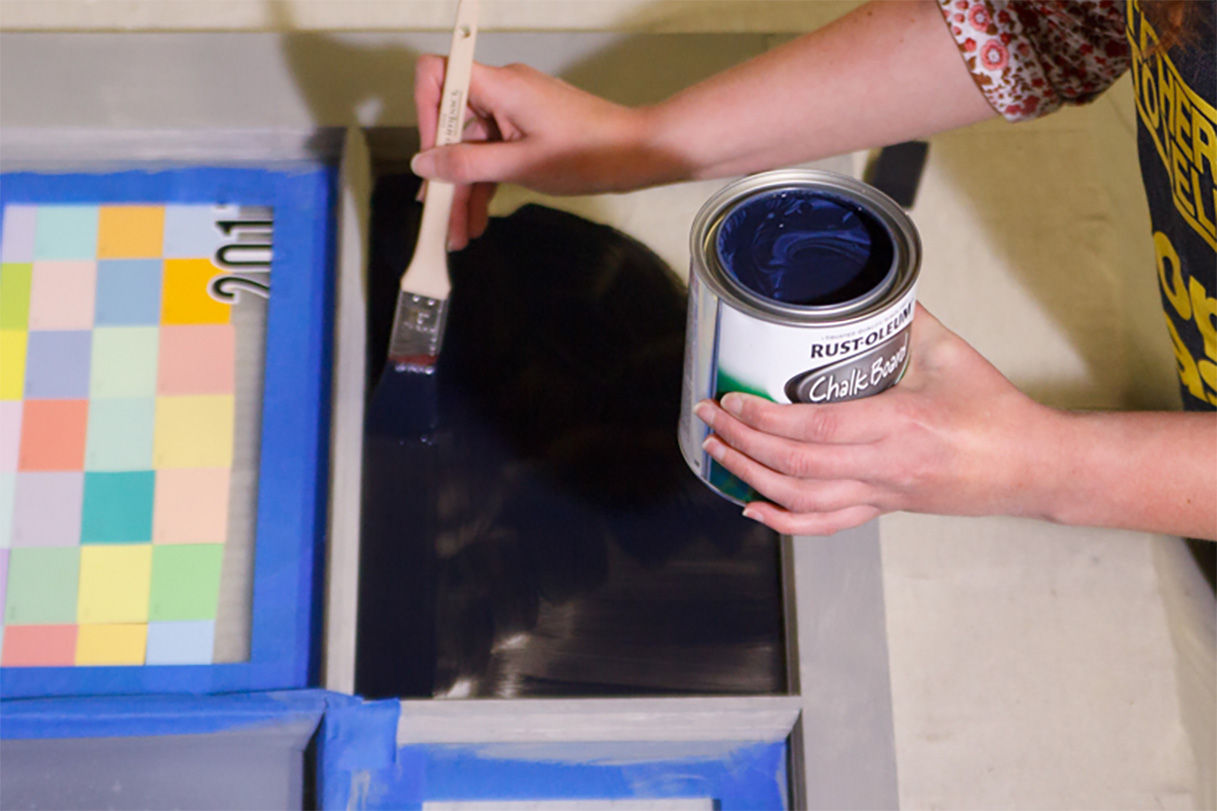
Person painting on chalk board paint after the primer has dried

Step 11: Remove your protective paper, and apply your Rust-Oleum Chalkboard paint

Keep in mind that painting on glass is different than painting on a porous surface, like wood. You will need to apply a generous amount of paint, and brush the paint in smooth, consistent strokes to get the best result. It also takes longer than usual for paint to dry on glass than it does on other surfaces, so be careful not to smudge it while you work. We covered our Rust-Oleum Chalkboard Paint section with protective paper, and ultimately applied a second coat for optimal coverage. Be sure to follow all instructions on the can, including proper ventilation and application techniques.

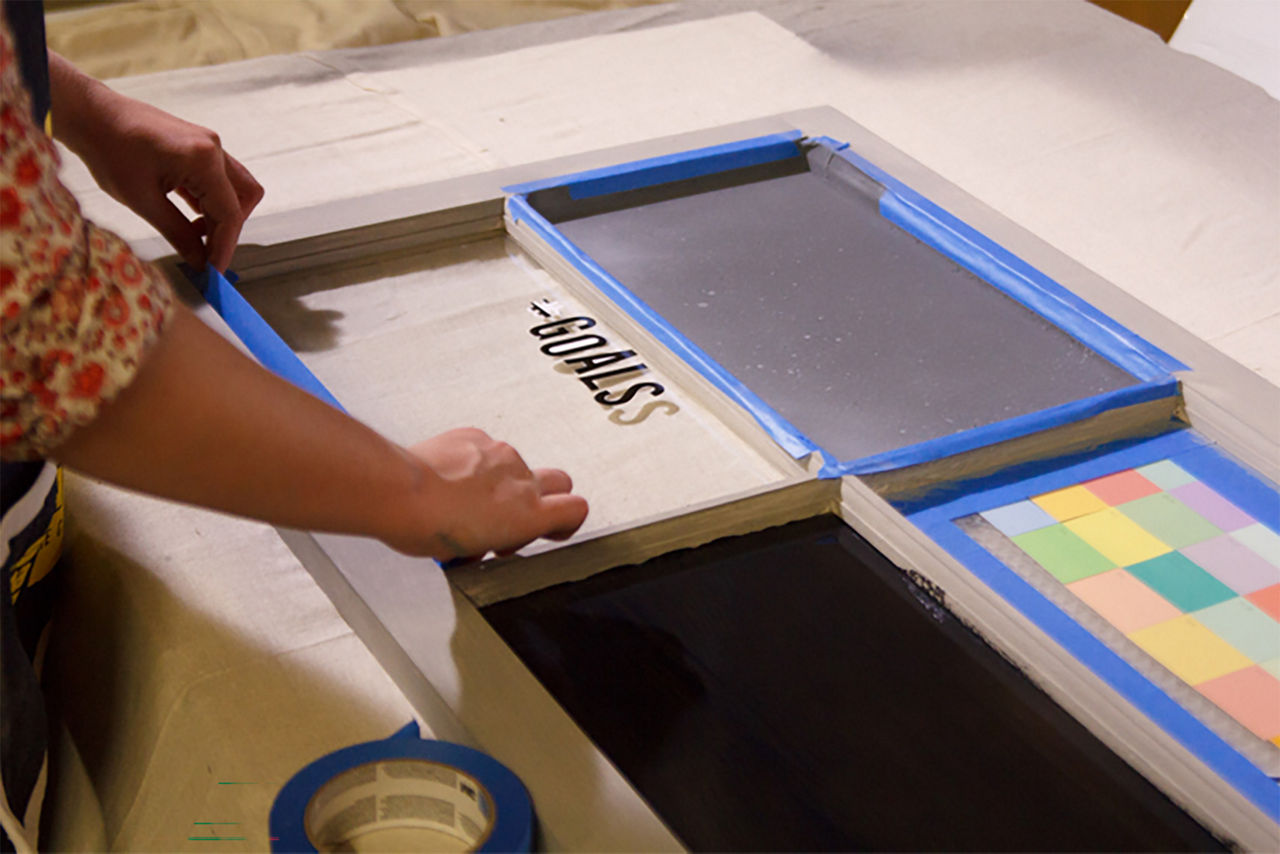
Putting painters tape on another quadrant to prepare for the next step
Person cutting the viynl to put them on the board

Step 12: Cut out the vinyl letters for your #goals board, and stick them directly to the window

The vinyl letters will block out the glitter paint, so you are left with a clean outline after you peel them up. You can use any vinyl sticker to achieve this shape. You can even cut your own out of the Con-Tact paper!

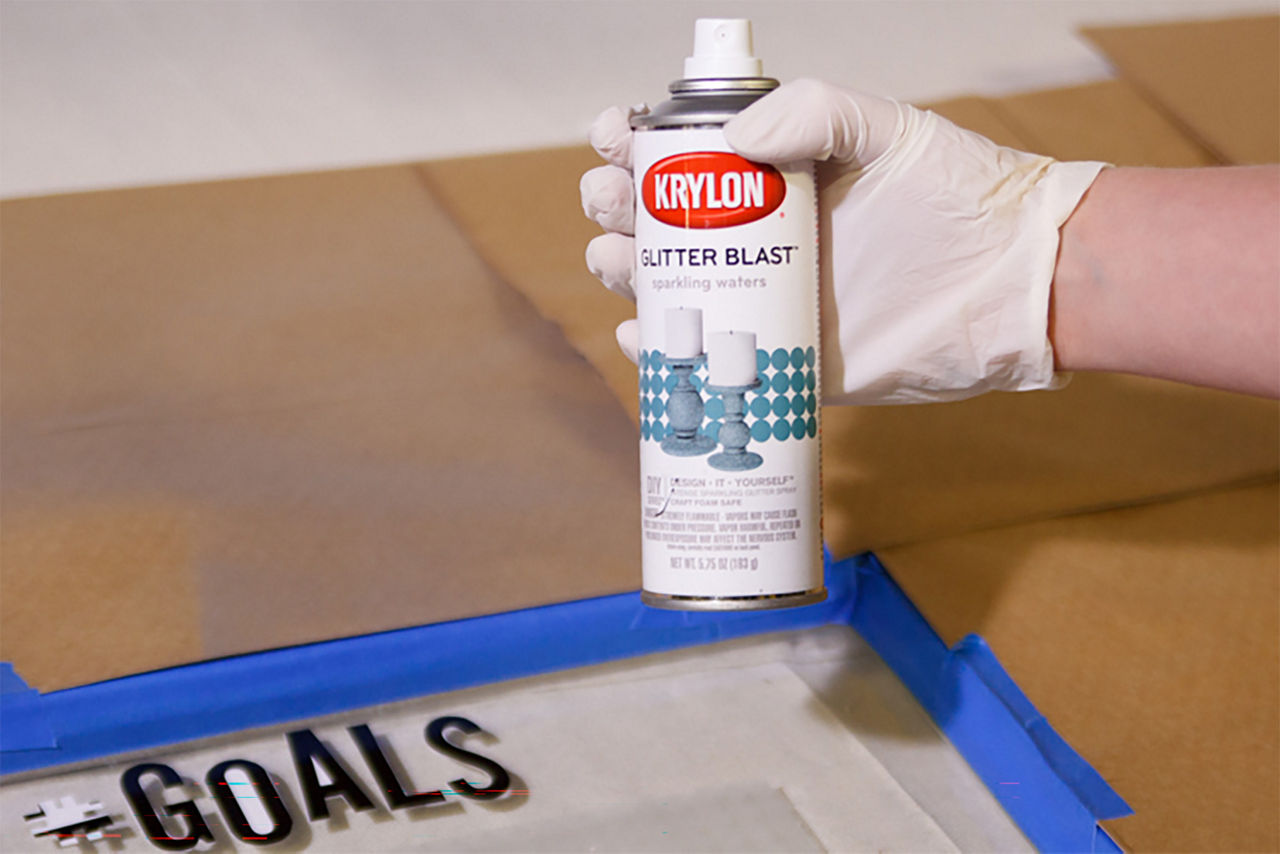
Close-up of the Krylon butter blast spray for the next step
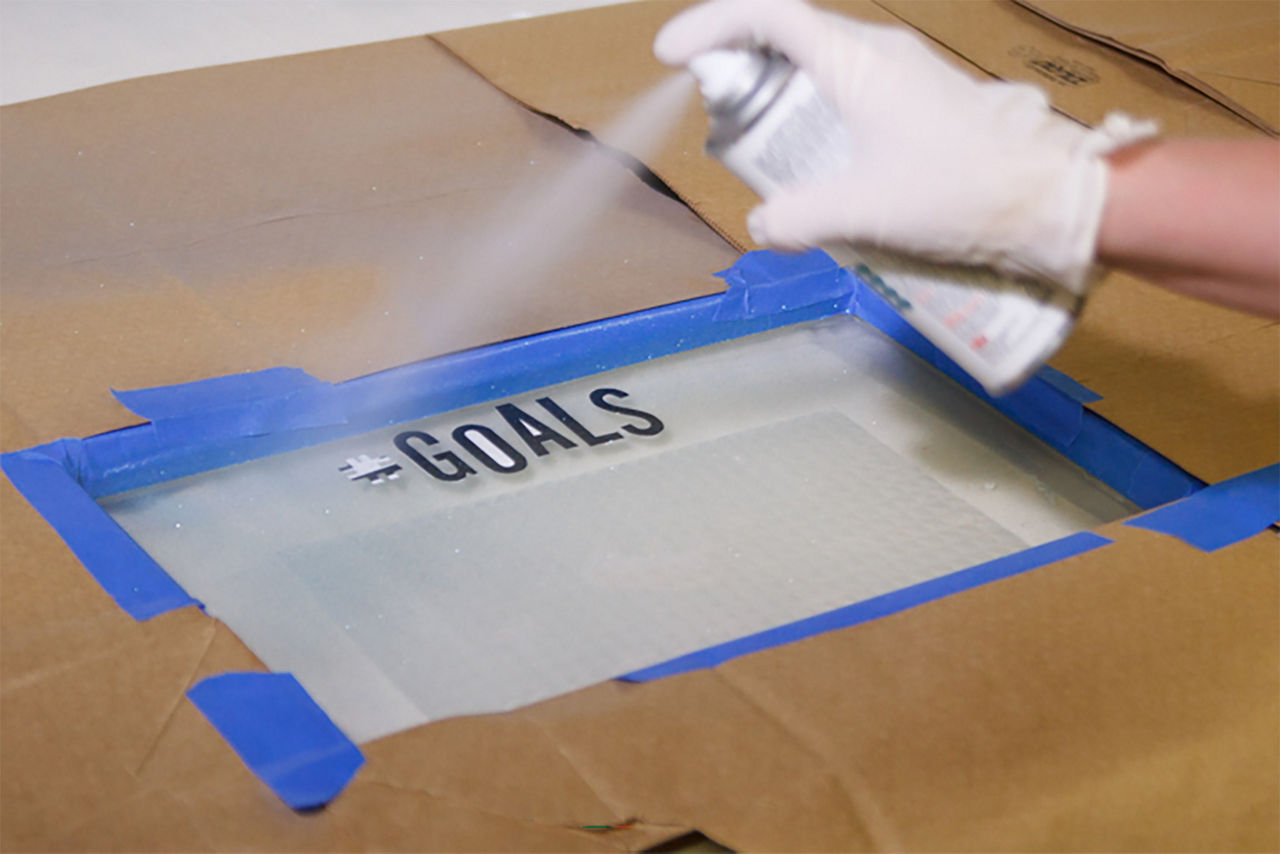
Person applying the krylon butter blast spray
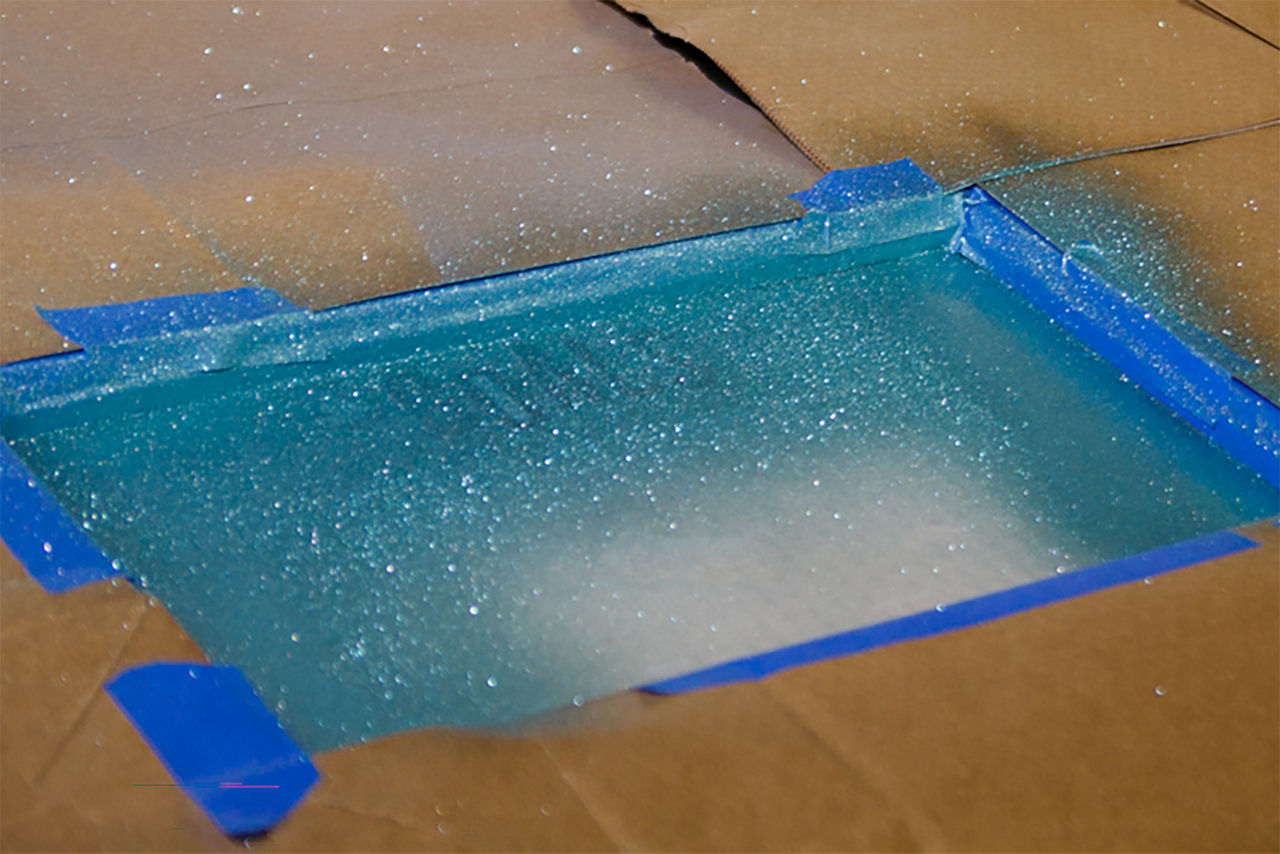
Glitter being added to the wet krylon paint on a quadrant of the window pane

Step 13: Spray the Krylon Glitter Blast in thin, even layers

This paint will go on very thin at first, but don't be discouraged! The Krylon Glitter Blast color will be increasingly visible with each layer.

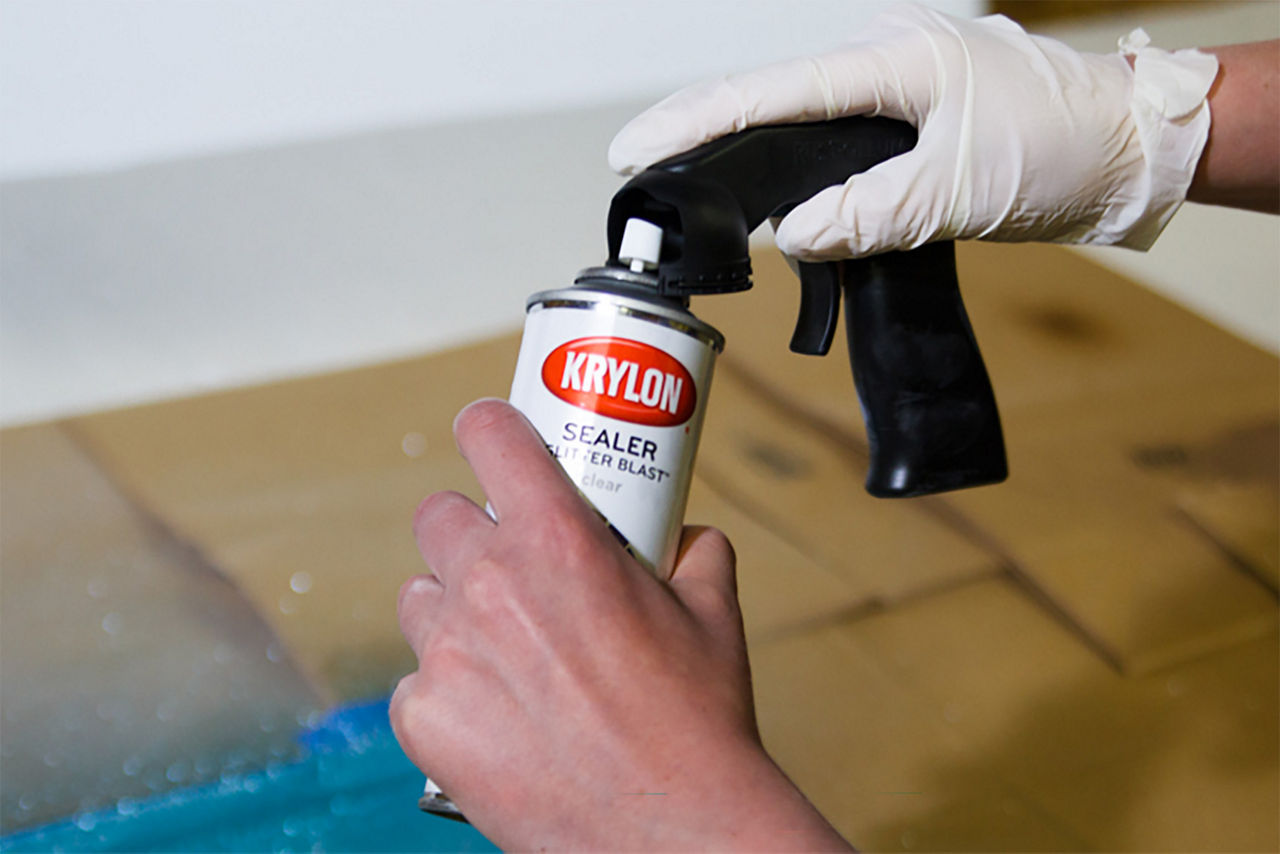
Close up of someone prepping the can of krylon sealer to spray over the glitter on the window pane

Step 14: Clear coat the glitter with Krylon Glitter Blast Sealer

If you do not seal the glitter, it will fall off and send sparkles all over your room in the future. If you like sparkles this might be a perk. If not, you'll want to seal it up. This is also a great time to use your Rust-Oleum spray handle if your index finger is getting tired! You'd be amazed how quickly holding down the spray tip gets old. This tool is highly recommended by DIY'ers and crafters everywhere.

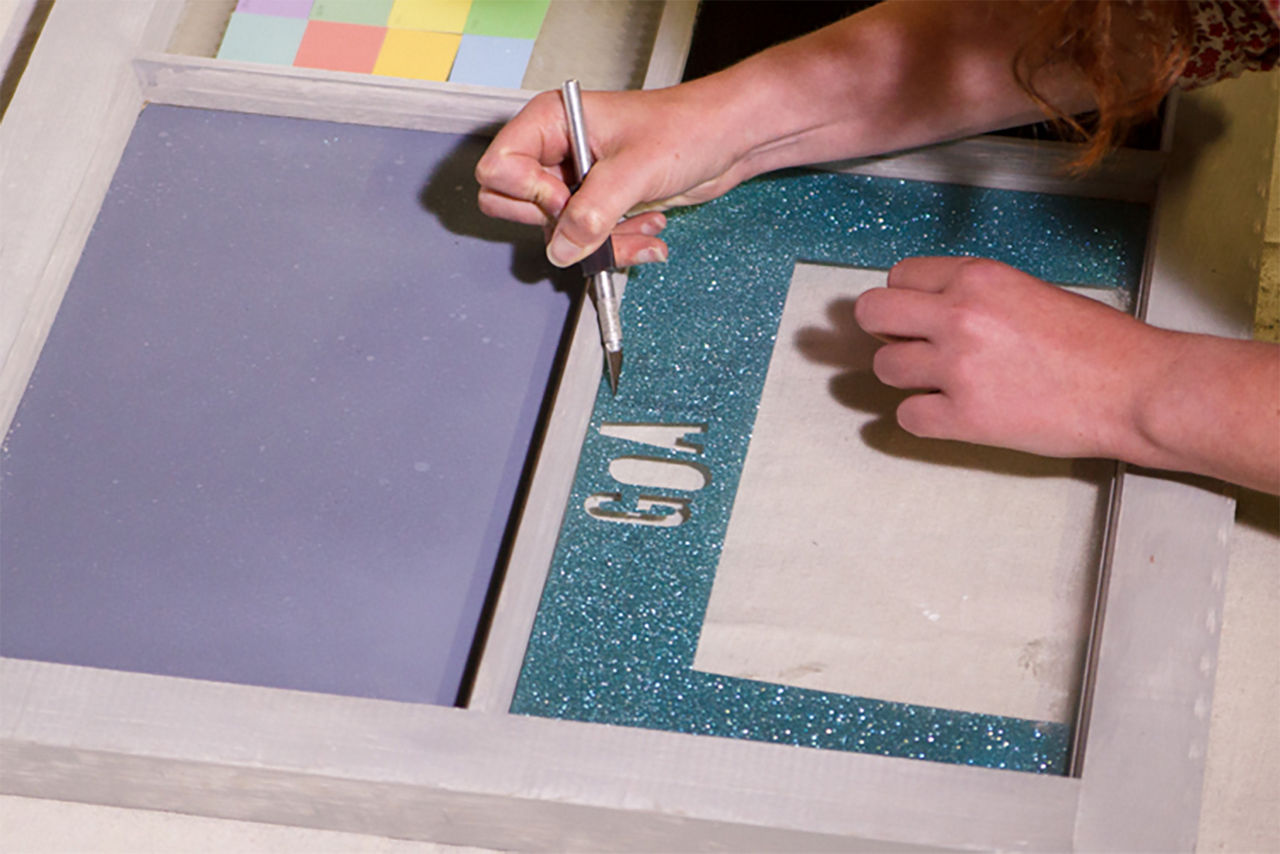
Taking off the viynl letters with an X-acto knife

Step 15: Once the glitter and clear coat are COMPLETELY dry, carefully peel up your vinyl letters and/or Con-Tact paper

Seriously. If your paint is not 100% dry, it will peel up and easily smudge while you are trying to remove the letters. Leave the paint to dry overnight if you're not sure it is completely set. Be sure to follow any related instructions on the paint can. Carefully use a razor or an X-acto knife to get underneath the letters for easy peeling.

Person cleaning around the edges of their window pane

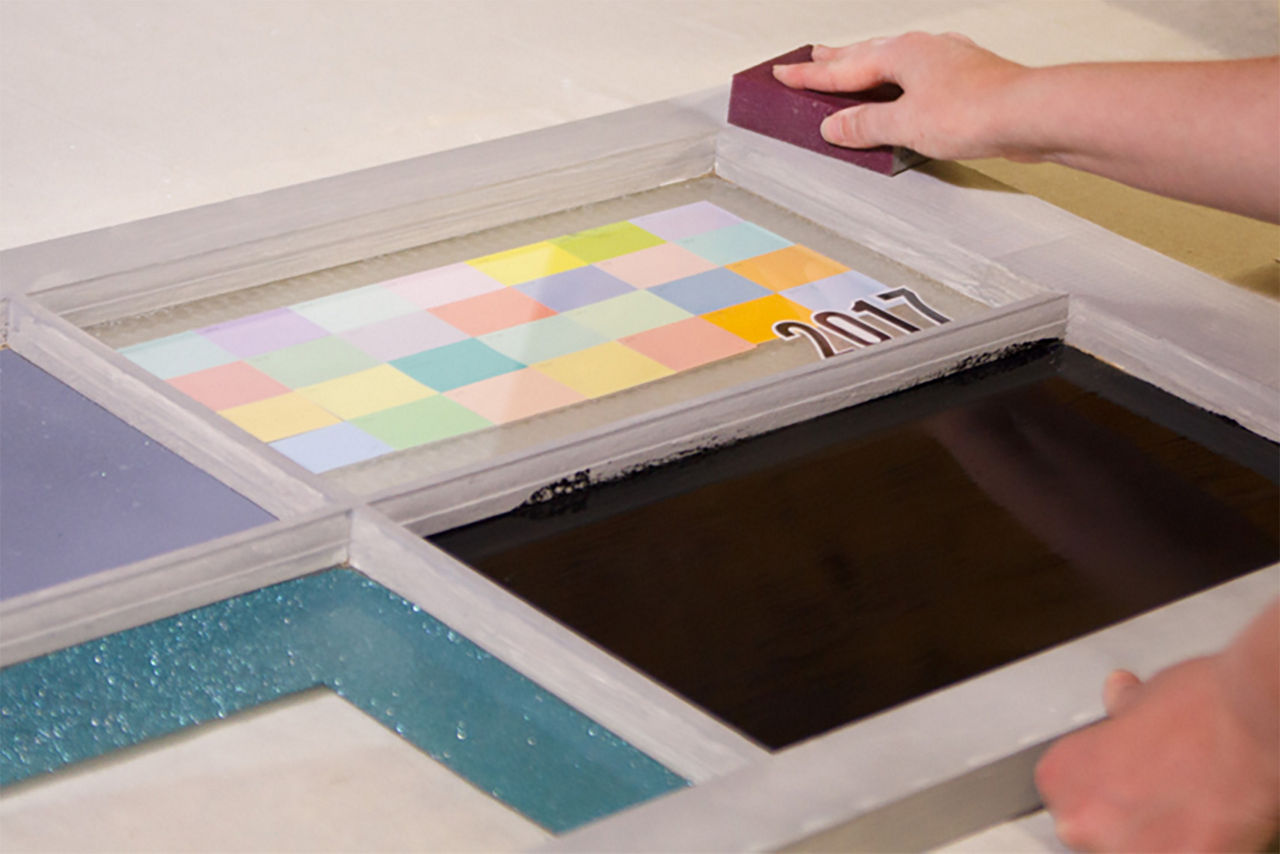
Step 16: Remove any remaining tape, and sand the frame to desired finish

Since all of your paint is COMPLETELY dry, you can peel up any remaining ScotchBlue painter's tape (always peel at an angle) and admire your work. You may need to touch-up some imperfections at this point - or leave them, it adds character! Use your fine sanding block to gently sand the frame in a circular motion if you prefer a rustic finish. We recommend sealing the fame with Rust-Oleum Chalked clear sealer.

Final product after following the instructions

Step 16: Fill in your planner, and show it off!

Need a little help?

Not to worry! Visit your local Valu and speak to our knowledgeable Associates. They are always happy to answer questions about your project, and come up with unique solutions.