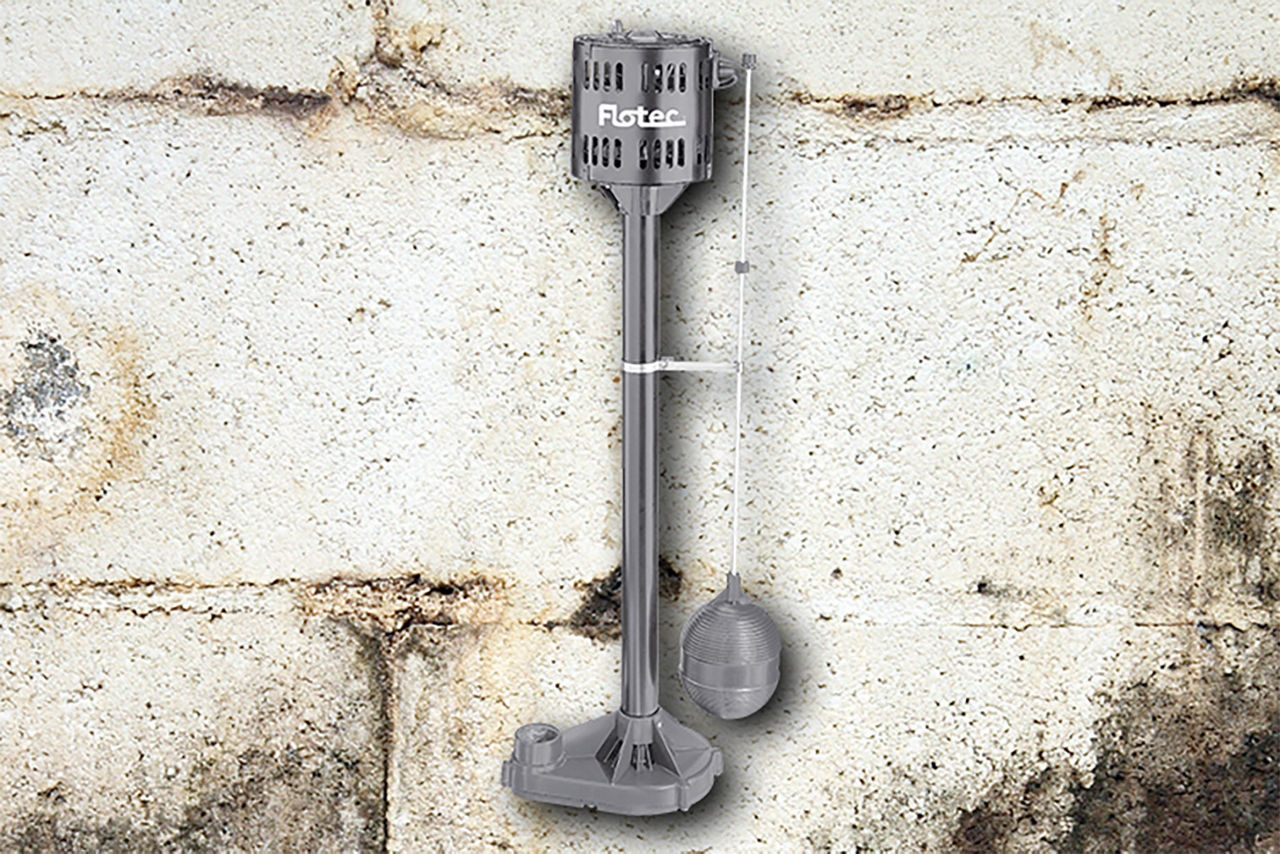
Step One – Drill Relief Hole Drill a 1/8” (2mm) relief hole in the discharge pipe 1” (25 mm) above where it attaches to the pump flange. This will prevent air locks and prolong the life of the pump motor.
Step Two – Place Pump Clean out the sump basin and place the pump inside, preferably on a level solid base (like cement bricks). This will minimize drawing sand or debris into the pump. Make sure the pump components will not come into contact with the sides of the basin, especially the float switch.
Step Three – Connect Pump to Drains Connect the pump discharge into the sump drainage system using PVC pipe and a check valve (one-way non-return valve) to limit backflow of water into the basin.
Step Four – Connect to Power and Test System Tape or zip-tie the pump cord to the discharge pipe. Connect the sump pump to the power and run water into the sump to test it. You will need to fill the sump to the level that normally causes the pump to activate – NEVER run the pump without water because its motor will rapidly overheat and seize up.
Sump Pump Replacement: 4 Tips
Sump pump replacement is not a glamorous task, but when necessary, it is fairly quick. As with any DIY job, it pays to do a little research before undertaking a sump pump replacement so that you know what you’re getting into. To ensure peace of mind for years to come, consider choosing a sump pump made with the finest materials and backed by a strong warranty. Keep reading for some useful tips on how to replace a sump pump.
Tip 1 - Cut the Power The first thing to remember is to unplug the sump pump before you do anything else, so as to avoid the risk of electric shock. Undo all electrical connections. It is a good idea to use additional light in the area so that you can clearly see what you’re doing.
Tip 2 - Buy Exactly the Same Sump Pump You should try to replace your sump pump with the exact same model as the old one to ensure the compatibility of the new pump with the existing basin and piping. To make sure you get exactly what you need, you can take the old pump with you to your local Valu. Disconnect the old pump from the discharge pipe by unfastening the clamp or screw fastenings. Allow water to drain from the pump or wipe it clean with a light bleach solution. Make sure to save all the fittings – you can take them with you to your Valu so that you can match the original pump’s connections or obtain the proper adapters.
Tip 3 - Test the Pump with Water After you bring the new pump home and reconnect it to the discharge pipe using some pipe joint compound or Teflon tape, test the system to make sure that it works. Simply connect the pump and switch to power and dump water into the sump basin. Examine all the connections as the pump is running to ensure that everything is watertight. Repair any observed leaks to avoid smelly and leaky surprises in the future.
Tip 4 - Don’t Be Afraid to Ask for Help If something goes wrong at any point in the replacement process, or you suddenly realize that the problem with your sump system is more far-reaching than just a minor problem with the pump itself, don’t be afraid to call in the big guns! Call a professional plumber as soon as you feel that you’re in over your head.
Why You Need a Backup Sump Pump
A backup system provides added peace of mind, protecting your home against power outage, sump pump failure, flooding, heavy rains, or melting snow that can overwhelm your existing sump pump system. If your principal sump pump fails, a backup sump pump can run on its own power, either from a rechargeable battery or from your residential water system. The following conditions may necessitate the need for a backup sump pump:
Power Outages If you live in an area where power outages occur on a regular basis, a battery-powered back pump is ideal. If your home's electrical circuit is accidentally tripped or if the electrical line that feeds into your pump is likely to become damaged, you will benefit from having a backup pump.
Pump Problem Sources A backup pump will protect your property if your main sump pump ever becomes damaged or if one of its parts becomes broken. Three common pump problems include: • Pump clogging caused by debris sucked into the pump • Stuck pump impeller or float switch • Water from flooding or heavy rains that exceed the main pump’s capacity
Help! I still have questions.
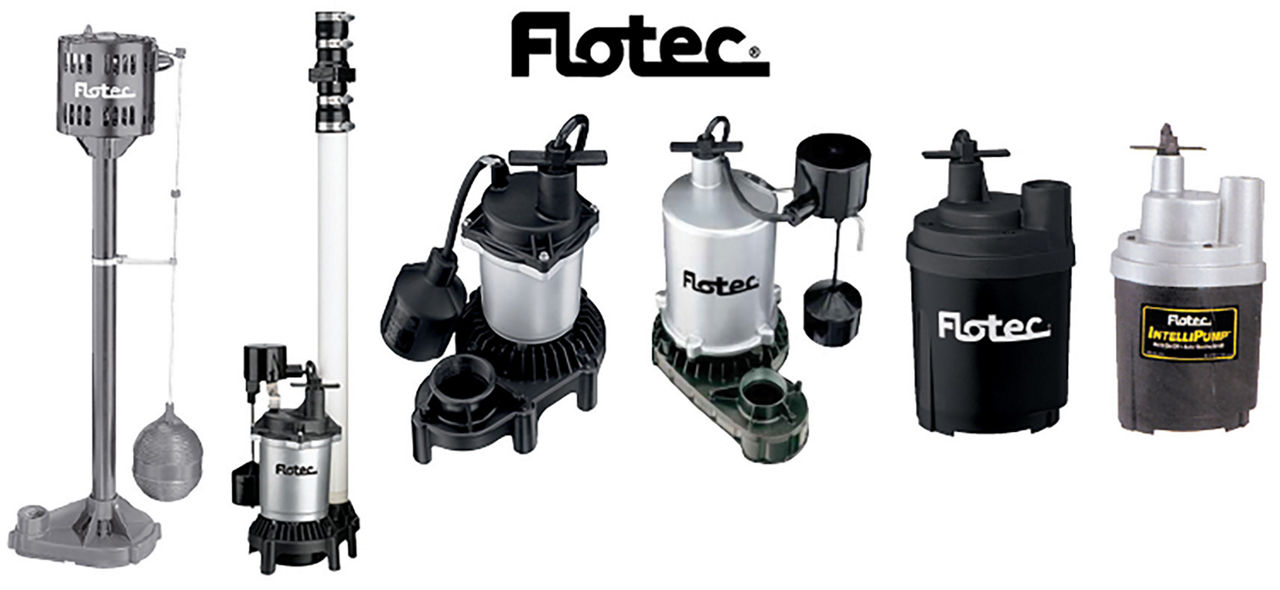
Don’t worry, we can help you get the job done! Stop in to your local Valu and speak to one of our knowledgeable Sales Associates about pump maintenance, replacement, parts, or upgrades. If you need a new sump pump or want to purchase a backup, we've got you covered!

