Tips for Weatherstripping Your Home

If your home is feeling a bit drafty, chances are it’s an air leak in one or more of the components of your home. Common places for leaks include doors and windows.
These outside drafts are more than just an annoyance — they can also cause your heating and cooling bills to soar. In fact, experts estimate that you might be able to save over 20% on these bills if you seal them with weatherstripping.
What is weatherstripping, and how does it work? Basically, it’s a way to seal cracks, gaps, and holes to prevent outside air from getting into your house. If you’re interested in trying this out, you’re in luck. We’ve compiled some weatherstripping tips below to help you get started.
How to Find the Air Leak

Before you can start the weatherstripping process, you need to know where the leak is and how large it is. You probably have a good idea where the defects in your home might be, thanks to the drafts you feel, but the following tests will help you pinpoint exactly where the problem is:
- Use a flashlight. Wait until night falls, then grab a flashlight and head outside. Make sure you work with someone who is inside. Then, shine your flashlight on the exterior of your home, focusing on doors. The person inside will check each location to see if they see light streaming through. If they do, you now know which areas need to be repaired.
- Use smoke. Don’t want to wait until night? Try lighting a candle and placing it next to the window or door in question. Normally, the smoke should rise straight up, but if you see it changing direction, you probably have a draft and should apply weatherstripping.
- Use money. No, we don’t mean hiring a contractor to check for you — that’s not necessary. Rather, take a dollar bill and place it between the door and the door jamb. Close the door, then try to remove the bill. If you can pull it with ease, your door could definitely do with weatherstripping.
Of course, you should always do a visual inspection as well. Chances are, you might even be able to see the hole or gap, in which case, you’ll know exactly where to start.
How to Choose Which Weatherstripping to Use

You’ve found the leak and you’re ready to seal it up! But first, you need to decide what kind of weatherstripping to use. Some options include:
- V-strip/tension seal. Great for placing along a sliding window, double-hung window, or on the sides and top of a door.
- Felt strips. Useful along a door jamb, window sash, or around a door.
- Foam tape. Place along the bottom or top of a window sash or inside your door frame.
- Door sweep. Install this at the bottom of your door on the home’s interior.
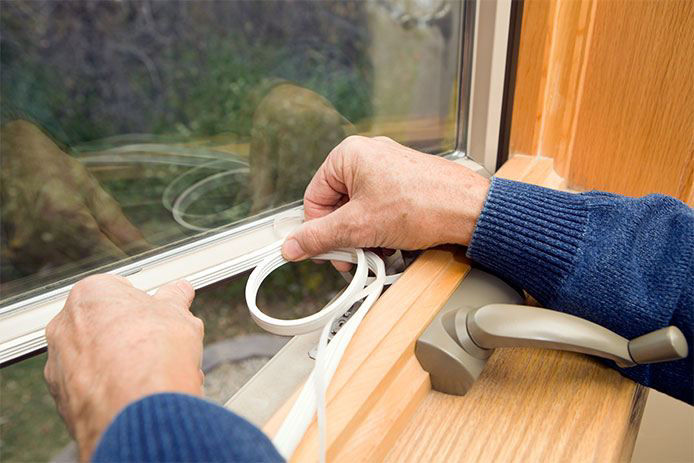
- Tubing made of rubber, silicone, or vinyl. You can use along a door jamb, at the bottom of a door or window, and along the bottom or top of a window sash.
How Much Weatherstripping to Buy

Now that you’ve decided what weatherstripping to buy, how much of it do you need?
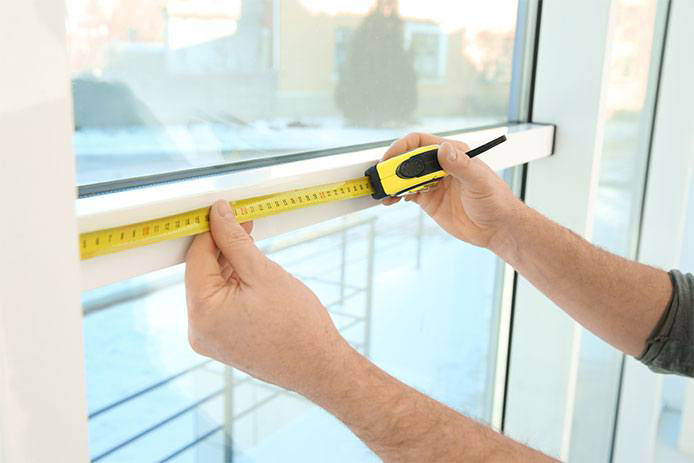
To figure this out, you’ll need to measure the perimeters of all the doors and windows where you’re going to apply weatherstripping.
While that's the precise amount you’ll need if everything goes perfectly, how often does that happen on the first try? Add 5% to 10% to the total amount to give you enough extra for any mistakes.
How to Prepare the Area

With all of your supplies gathered, you now have to start preparing the actual surface. If you just slap on weatherstripping without any preparation, you’ll find it won’t last long.
First, make sure the surface is clean and dry. You also want to ensure the temperature is above 20 degrees Fahrenheit. This shouldn’t be a problem in most homes, but if you’re doing this in winter in an unheated house, consider using a space heater to warm up the area first.
How to Apply Weatherstripping

Every weatherstripping material has slightly different instructions, but there are a few general tips you can keep in mind. First and foremost, always double-check your measurements before cutting out the weatherstripping. You want to be as exact as possible to completely seal everything up.
Second, you’ll want to apply the weatherstripping to both sides of the door or window. That way, you’ll have double protection against the elements. Ideally, you want the weatherstripping to compress tightly when closing the door or window — this means no air can get in.
Make sure the weatherstripping isn’t too tight. Otherwise, you might have problems opening and closing the door or window. Always test it out first by laying it down and trying to open the door or window before actually applying it.
Keep Your Home Comfortable

Weatherstripping is an easy DIY project that shouldn’t take more than a few minutes. Not only will it help you reduce your energy bills, but it will also help make you and your home more comfortable.
While do-it-yourself projects can be fun and fulfilling, there is always a potential for personal injury or property damage. We strongly suggest that any project beyond your abilities be left to licensed professionals such as electricians, plumbers, and carpenters. Any action you take upon the information on this website is strictly at your own risk, and we assume no responsibility or liability for the contents of this article.