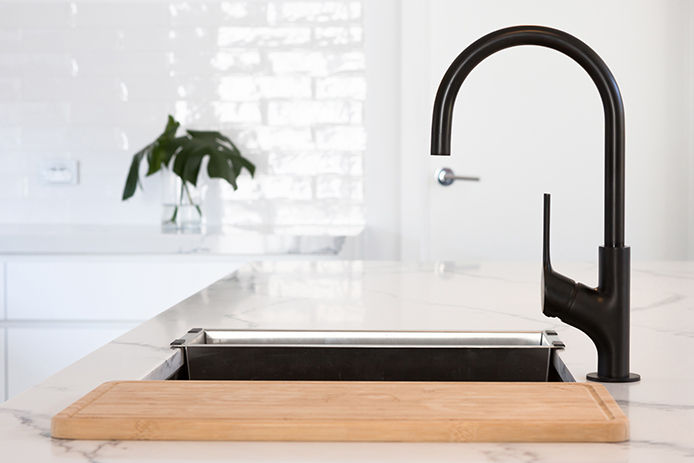
Step 1: Follow the steps above to figure out your faucet type.
Knowing whether you have a cartridge, ball, ceramic disk, or compression faucet will help you find the right parts for repair. You may also need to know the manufacturer and model of your faucet (which will usually be somewhere on the fixture).
Step 2: Turn off the water supply before dismantling your faucet.
For most sinks, the turn-off valves are located below the sink. Be sure to turn off the cold as well as the hot valve. You should also put the stopper in the sink.
Step 3: Remove the knob caps.
These screw covers are typically on the face of the knob, and they are easy to pop off with a flat-head screwdriver. Once the screw is exposed, you can unscrew the faucet handle.
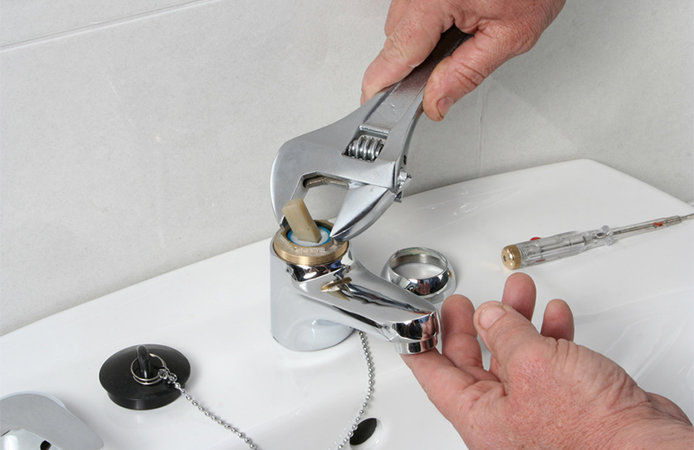
Step 4: Loosen the packing nut and stem.
You will need to use pliers or a wrench first to loosen up the packing nut and then loosen the stem. Be careful not to damage these items as you remove them.
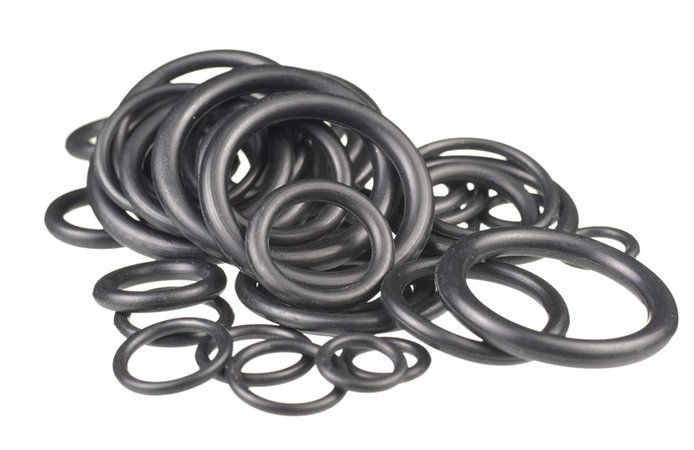
Step 5: Inspect the black rubber O-ring.
If you see any degradation, replace the O-ring.
Step 6: Inspect the washer housed in the valve seat.
If you see any damage to the washer, you may need to replace it.
Step 7: Put the faucet together and turn the water back on.
Turn on the faucet to see if you have fixed the leak. If the leak continues, you may need to contact a professional plumber to assist.
You can DIY most basic causes of leaky faucets. If you’re ready to tackle this minor home repair, Do it Best can help. We have all the plumbing supplies you need to repair your leaky faucet!

