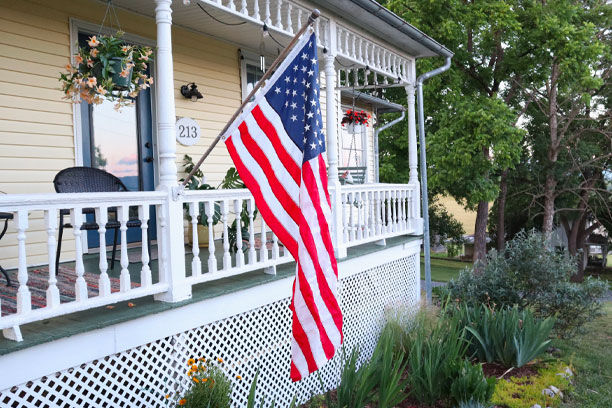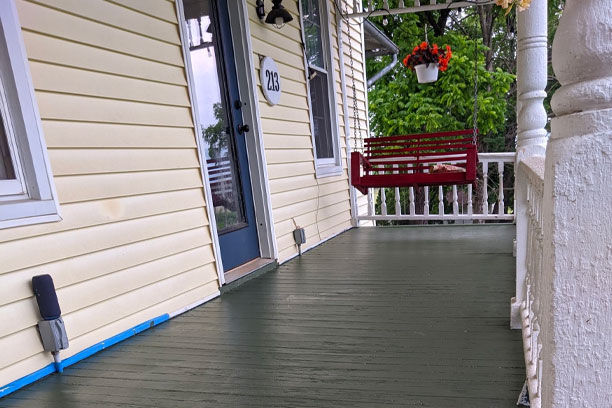
Painting your porch is one of the easiest and quickest ways to increase your home's curb appeal. Porches are the first thing people see when they walk or drive past your house. It's where you first welcome your guests into your home, so it's important to put your best foot forward. Painting a porch is also the best way to protect the wood as it is exposed to all the elements.
Complete Porch Transformation: Prepping and Painting Tips
By Sarah Berry, July 19, 2023
Painting a porch floor can seem straightforward: slap some paint down, let it dry, and viola! A beautiful upgrade! The truth is that the majority of the work that goes into porch painting is actually done before any paint touches the floor. I've broken the process of prepping and painting a porch into steps that are easy to understand. Even the most novice of painters can have a beautiful porch that increases their living space while protecting their investment in their home.
One of the first factors one has to take into account when painting any wood object that lives outside is the weather. You need a span of a few days of dry weather. Painting moisture into the wood accomplishes two things: bubbling paint that will need to be removed, and it forces moisture into the wood which hastens wood rot.
Once you feel pretty confident that you'll have a few dry days ahead of you, go ahead and get your materials together. You'll need:
- Broom or something to clean debris and paint chips off the porch
- Wire brush or paint scraper
- Sander and 60-80 grit sandpaper
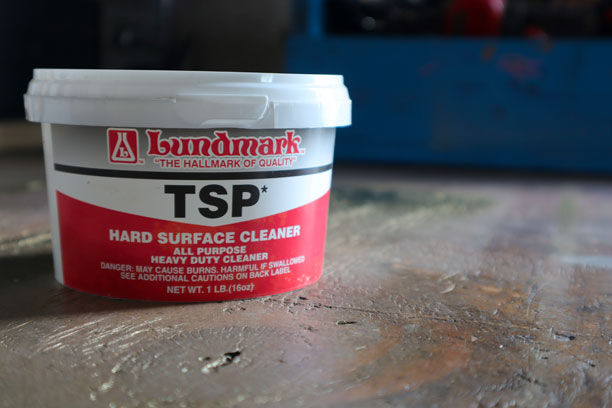
- Trisodium phosphate (TSP)
- Scrub brush and bucket
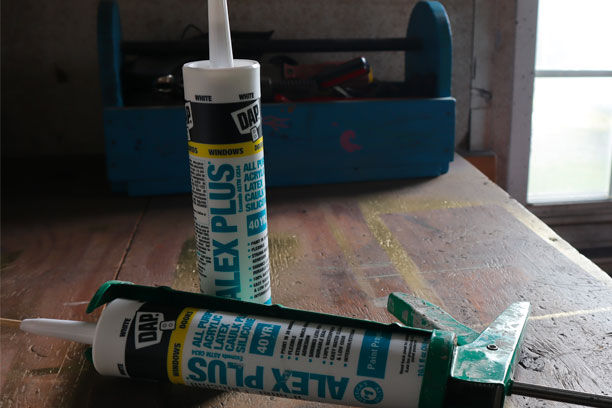
- Caulk
- Painter's Tape
- Paint rollers and frame with an optional extension pole
- Good quality paintbrush
- Zinsser 1-2-3 Primer
- Porch Floor Paint
- Optional: Powerwasher
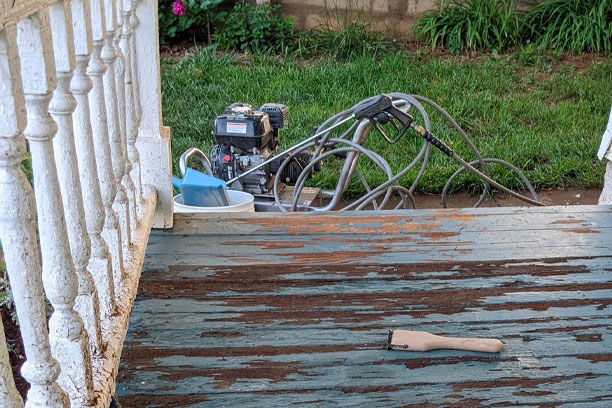
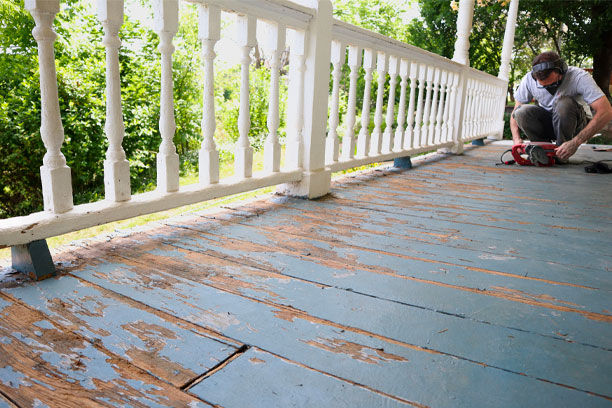
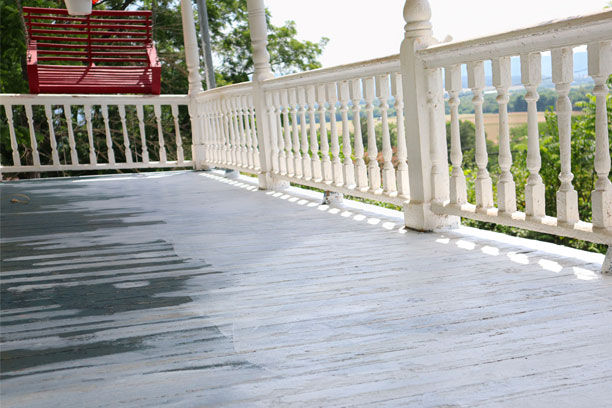
The goal of using the powerwasher here is to knock off any loose or peeling paint. If you don't have access to a powerwasher, use your wire brush or paint scraper to remove old paint. Any paint that has lifted away from the wood needs to be removed to ensure that your primer can adhere to the wood. If your paint is still firmly sticking to the floor, it is not necessary to remove it. Once you're done removing the old paint, clean it up with either a stiff broom or a shop-vac.
Even if you haven't added any pigment to it, you want to make sure that the entire has an even distribution of resin. Resin is what helps seal the porch surface and provide a sticky foundation for the paint. Pour the primer into your paint tray, but before you saturate your roller in it, dampen the roller with water. This helps "prime" the roller to absorb more primer and helps provide an even application to the porch. When applying the primer, use a thin coat and only apply it to the areas where there is bare wood. Use your brush to make sure that you get in between the boards and into every crevice you can see.
For this step, we recommend Zinsser 1-2-3 Primer. It's water-based, so it's easy to use and clean up. It's also mold and mildew resistant. It dries quickly and is ready to paint in an hour. This primer is approved for both indoor and outdoor use, so it's a great primer to keep on hand.
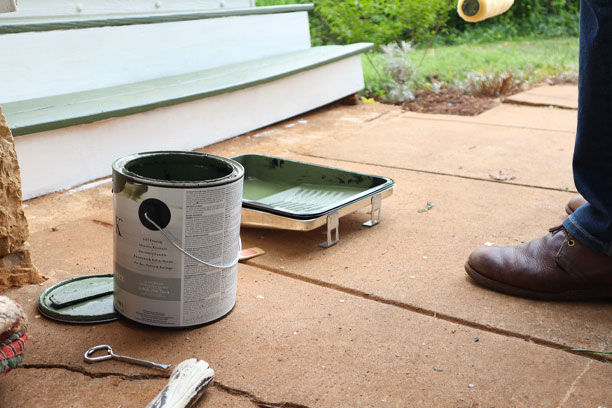
Mix the paint in the can thoroughly. Mixing it ensures that all the pigment is evenly distributed for a uniform color. This part is up to you, but I prefer to cut in before using my roller. Again, take time to get into all the cracks and spaces in between the boards. The better the application, the more protection the paint can provide.
Once you've finished cutting in and painting around all the fiddly bits, grab a fresh roller and dampen it as you did with water for the primer. Paint using a crisscross pattern to really work the paint into the floor while making sure that you're applying a thin layer. Let this first coat dry completely according to the directions written on the can. I waited 4 hours before reapplying. Once again, I cut in using my brush first and I also went ahead and painted the places where the roller wasn't able to apply paint with the first coat. I removed the painter's tape after I was done cutting in. Waiting until the paint is dry to remove it can cause the paint to peel. Use the same method as the first coat and let it dry a MINIMUM of 24 hours before allowing foot traffic and replacing any furniture. Wait closer to 48 hours if your furniture has metal feet.