How to Store and Save Seeds from Your Garden Harvest
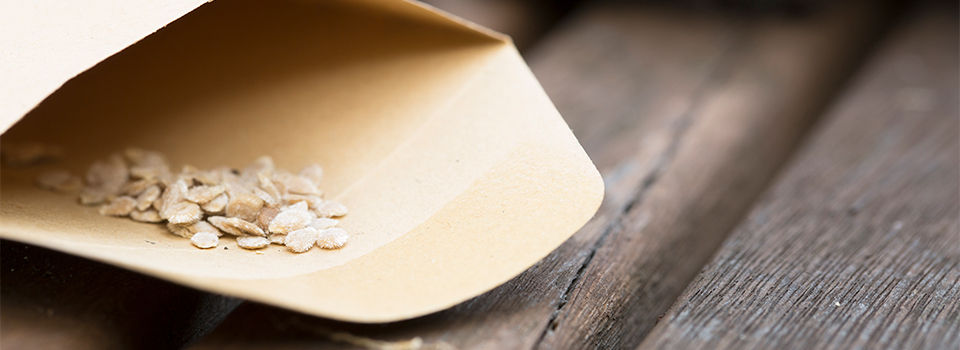
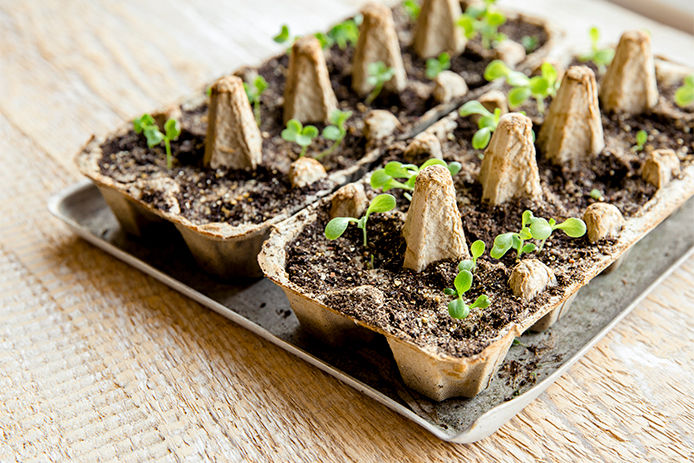
Growing a garden becomes an expensive proposition if you only purchase started plants. Starting from seed is easier than you think, which then leads to wondering if you could save your own seed to cut costs even more. The good news is that you can easily save seed from most garden plants and store it year after year.
Only Save From Heirlooms
Many garden plants that are popular today, including Better Boy tomatoes and Burpless cucumbers, are hybrids. This doesn’t mean they’re made with genetic engineering, but rather the careful but natural crossing of two different varieties. The first generation, or F1, of these plants is sold as seed to give you a specific set of stable traits like disease resistance or certain colors of fruit. So when a Better Boy tomato grows in your yard and forms seeds, those seeds will not necessarily grow anything like the parent plant. A lot of diversity will pop up instead.
In contrast, heirloom varieties are stabilized and will return the same from seed year after year unless they are cross-pollinated. Many garden plants like tomatoes and beans mostly only self-pollinate, meaning an heirloom tomato will make seeds that grow the same as the parent plant. If you’re not sure if a particular plant you like is a hybrid or heirloom, try searching the name online to get a little background on its genetics. You can play around with saving hybridized seeds just to see what happens, but don’t be surprised if you get a wild variety and some plants that aren’t productive at all.
Plant Extra Just for Seed
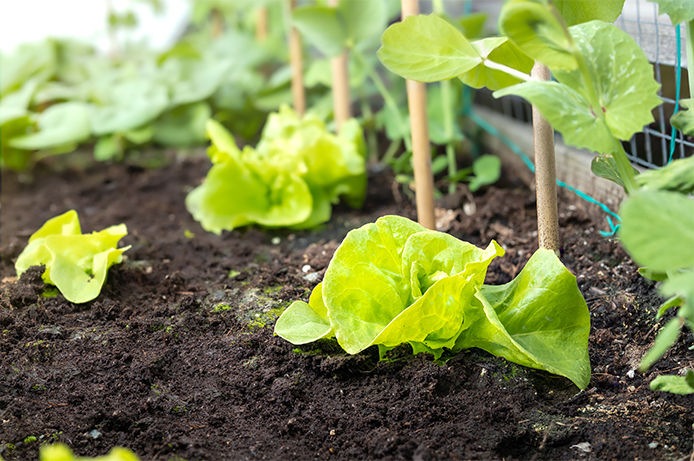
In most cases, you need to let plants or fruit get too mature to eat to harvest seed. Tomatoes are one exception, but even their fruit needs to get as ripe as possible on the vine before harvesting the seeds. Having a few extra plants set aside allows you to enjoy your harvests while waiting for seed pods to form or fruit to fully mature. Cucumbers go yellow and hard when their seeds ripen, while lettuce will send up a central stalk of flowers and develop a bitter taste in the leaves. You’ll need a long season to get some crops to flower or fruit to seed, but it’s worth it. Melons and winter squash are unique in being edible when their seeds are developed enough to save.
Wait Until the Seed Is Fully Developed and Dry
Don’t grab the bean pods off the vine as soon as you see the plump sign of seeds inside. Most seed pods or fruit need to reach a mature stage and begin to dry at least before the seed will be viable next year. Seeds harvested too early will wither and wrinkle when dried out and simply fail to grow anything. Check a seed-saving guide specific to the plant you want to save for tips on the perfect time for harvesting. For example, lettuce and other greens are tricky because their seed pods need to begin to dry but get gathered before they split open and lose the tiny seeds. A visual guide can help you learn the right time to pick or harvest each garden crop for seed instead of snacking.
Dry the Seeds Further
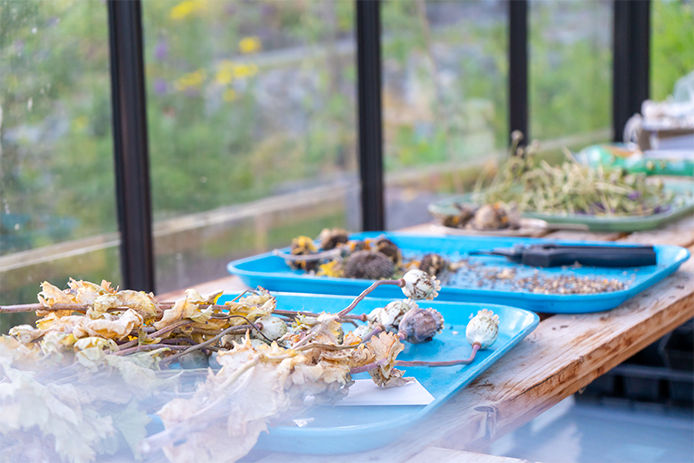
Even if the beans, peas, seeds, or pods feel very dry to the touch, they still have enough moisture to cause mold in storage. Spread your harvest out on window screen material or dehydrator trays and let them dry at room temperature for a week at least, preferably in a room with low humidity. Beans and other thick seeds should be too hard to break open with a fingernail, while small seeds need to crack rather than smear under the back of a spoon. Don’t expose the seeds to heat or sunlight since it can shorten their lifespan. Tomato seeds, in particular, need fermentation before drying. This is as easy as putting the gel and seeds from inside a ripe tomato in a cup with a little water and setting it in a warm place for 72 hours to one week. When the gel and seeds easily separate when the cup is swirled, dump the water through a strainer, rinse any remaining pulp off the seeds, and proceed to dry the tomato seeds as usual.
Packaging Homegrown Seeds
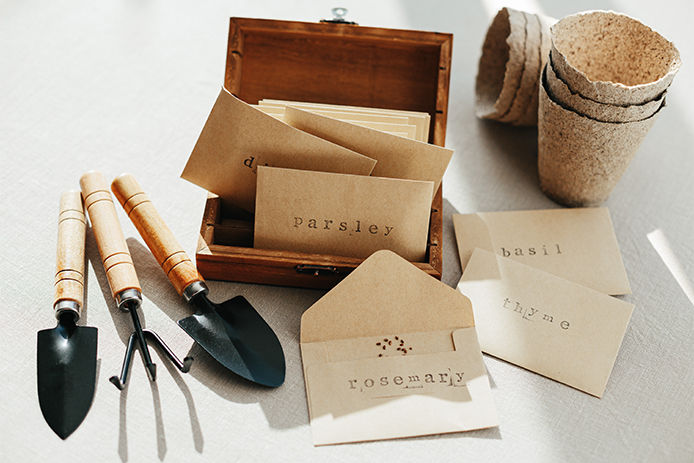
Paper envelopes are used by professionals because they help keep seeds dry. Plastic bags work for large volumes of homegrown seeds, but they trap moisture and can ruin an entire batch if even a few seeds aren’t dry enough. Try larger envelopes like manilla envelopes with reusable closures for easy access to your seeds in the spring. You can also try making recycled homemade seed packages from old mail or scrap paper with nothing more than a template, a pair of scissors, and a glue stick.
Storage Tips for All Garden Seeds
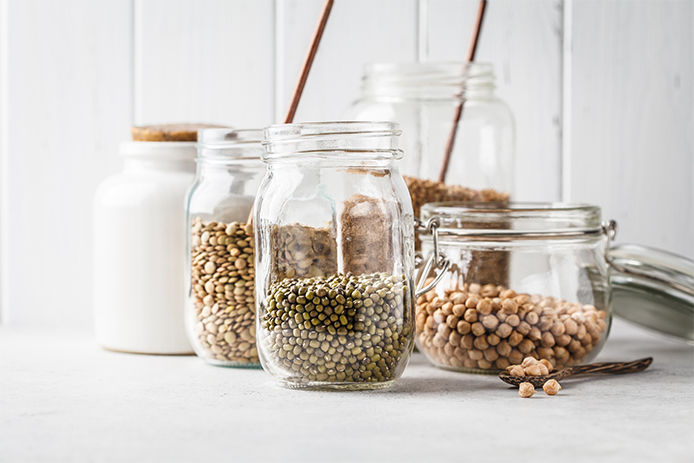
While you might separate and organize your seeds in packets or envelopes, all those individual packages need a centralized storage solution. The conditions you store the seeds in, including those you buy, also determine how well they’ll sprout for the next few years. Place the packets in a larger container that is moisture-proof, such as a plastic lidded container or a glass jar. For the longest shelf life, the seeds need to stay dark, dry, and cold. A refrigerator is a good option, but keep the seeds high in the shelving rather than in the moist crisper drawer. Don’t put them in the freezer, which can be too cold for larger seeds. A closet in an area that stays air-conditioned in the summer is often the best choice.
Gardening is a great hobby to share, and saving seeds gives you more to share with your family and friends. Encourage others to try seed starting by handing out packets of your own garden seed next spring.