Steps for Installing an Attic Ladder
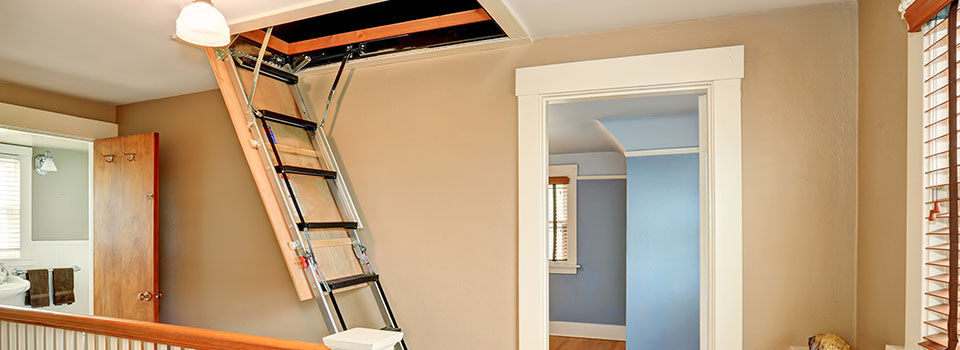
Having an attic in your house is great for storing unneeded items and keepsakes. However, using a stepladder to access your attic is inconvenient and dangerous. Make things a little safer with a fold-down attic ladder. Installing an attic ladder isn’t as tough as it might seem. As long as you follow the right size and weight restrictions and have competent skills with a power drill and saw, you should do just fine.
Tools for Installing an Attic Ladder
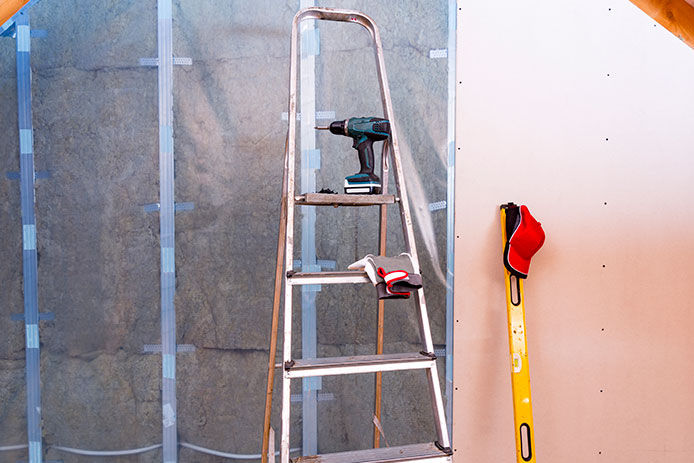
The installation process will involve cutting a hole in your ceiling, attaching support and header boards, and securing the ladder in place, so you’ll need quite a few tools:
Choosing the Right Attic Ladder Size
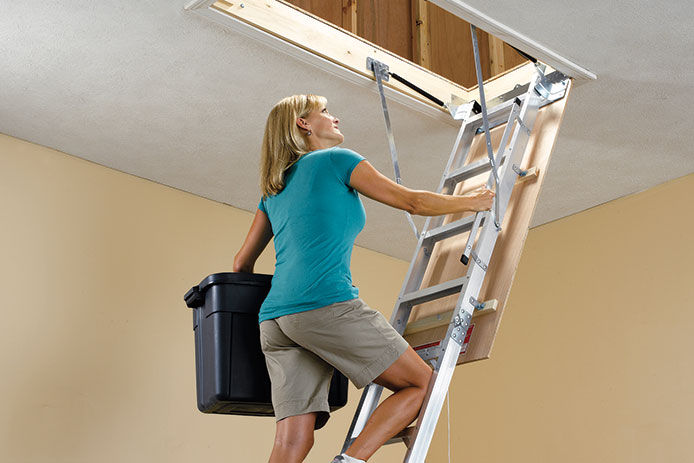
Not all attic ladders are the same. It’s important to make sure you choose the right one for your space.
Most standard ladders require an opening of 22.5" x 54". However, if you’re choosing a larger aluminum ladder, you may need an opening of 25" x 66". In some cases, oversized wooden ladders can require an opening as big as 30" x 54". Best bet? Double-check the dimensions of your ladder before beginning so you make the right size cuts in your ceiling.
Another important distance to consider is the floor-to-ceiling length. To find this, use the measuring tape to see how far it is from the floor to the ceiling. Most ceilings are between 8' and 9' tall, so it should be easy to find a ladder within that range.
You’ll also want to keep in mind ladder weight restrictions. Remember to include both your weight and the weight of whatever you’ll be carrying when making calculations. Most ladders can accommodate at least 250 pounds, but you may want to consider a rating larger than that if you’ll be carrying heavy boxes.
Step 1: Mark the Access Point
After you gather your tools and ladder, you’ll first need to mark up where you want the ladder to go. Choose a spot that has enough clearance so you can open the ladder fully without bumping into a wall or door. Also, think about where the access point is in the attic. Ideally, you’ll want a space where you can stand up all the way and not bump your head.
Finally, you’ll need to consider other obstacles, like plumbing, electrical wiring, or air ducts.
Once you’ve found the ideal location, measure out the dimensions using the tape measure and carpenter’s square, and draw a line using chalk or pencil.
Step 2: Cut the Opening
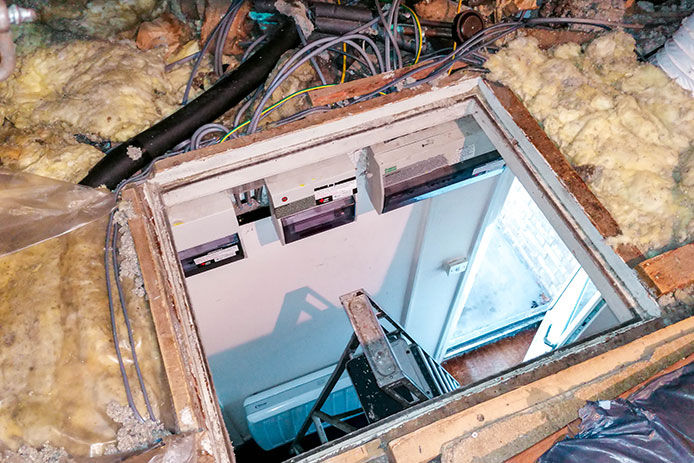
Once you’ve double-checked that the shape you’ve drawn matches the dimensions of the ladder, cut out the hole using a hand saw or drywall saw. Make sure you’re wearing your safety goggles, mask, and gloves. Try to stay right on the line, and don’t cut into the joists unless they’re blocking the opening. If you’ve cut the joists, you’ll need to nail down two perpendicular boards on either side of the cut joists to add additional support.
Step 3: Assemble the Header
The header is what the ladder attaches to, so it needs to be secured to the attic. Create two 2" x 6" header boards and attach them to the top of the opening in the attic with the nail gun. You can nail into nearby ceiling joists for better support.
Step 4: Add Support Boards
Support boards help during the installation process while you’re lifting the ladder into place. Use one 1" x 4" piece of wood at each end of the opening, leaving a small ¼" lip for the ladder to sit on. Again, you can just nail these up through the drywall.
Step 5: Lift and Shim the Ladder Assembly
Now it’s time to lift the ladder into place on the support boards. This is a two-person job, as you’ll need someone in the attic to lift the ladder, as well as someone on the ground to assist. You’ll want to lift the ladder so the hinged end is resting on the ledge you created in the last step. When you’re ready, extend the hinge, but don’t pull the ladder down yet.
With everything in its place, check to make sure it’s level, then add in shims between the frame and the joists.
Step 6: Drill the Ladder in Place
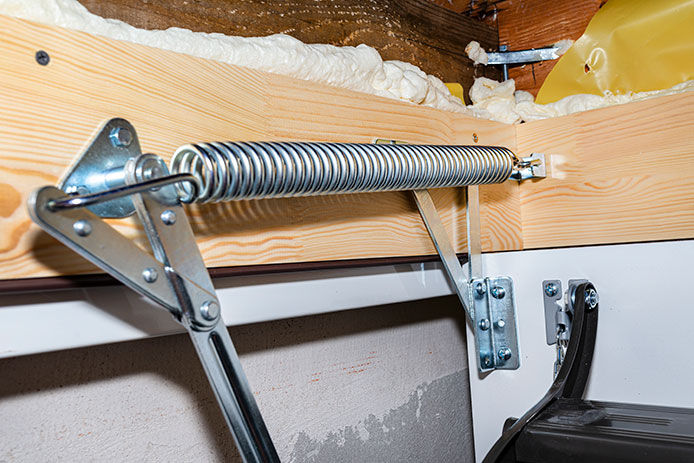
Drill the screws through the shims, making sure not to drill through the joists or headers. Once that’s secure, drill any remaining holes according to the ladder’s specific manufacturer instructions. You may have preassembled mounting plates to use as well. Once this step is done, you can remove the support boards you installed in step four.
Step 7: Adjust the Ladder Length
Now it’s time to make sure your ladder is level. You may need to trim the legs of your ladder so they sit perfectly on your floor. Release the ladder to the floor and see if it extends all the way. The feet should be flush with the floor, and the metal hinges at the top shouldn’t have any gaps. If you have gaps, trim the legs with your saw until the ladder is at the right angle.
Step 8: Install the Feet
The last step is to install the ladder feet. These should slide easily over the rail, and you’ll want to secure them in place using bolts. Double-check again that the ladder fits the floor with the feet on, and you’re good to go.
Enjoy Your New Ladder
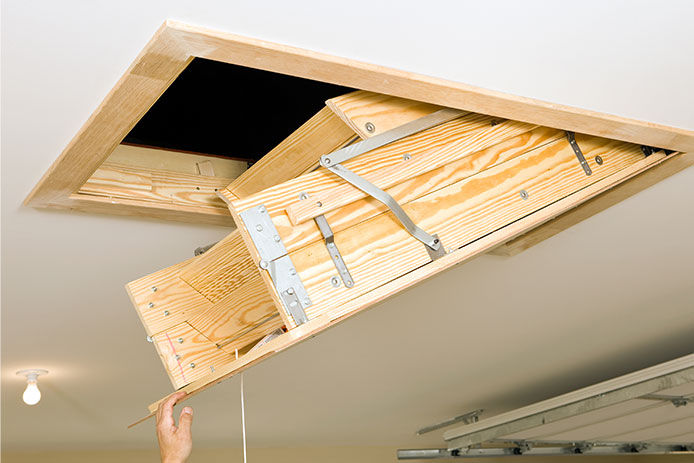
Keep in mind, this install will take about a full day to finish, so it’s not a quick project. However, once you have your new ladder in place, you’ll love the convenient access to more storage that comes with it.
While do-it-yourself projects can be fun and fulfilling, there is always a potential for personal injury or property damage. We strongly suggest that any project beyond your abilities be left to licensed professionals such as electricians, plumbers, and carpenters. Any action you take upon the information on this website is strictly at your own risk, and we assume no responsibility or liability for the contents of this article.


